General Page Settings
Customizing page settings.
How to Create, Duplicate, and Delete Pages
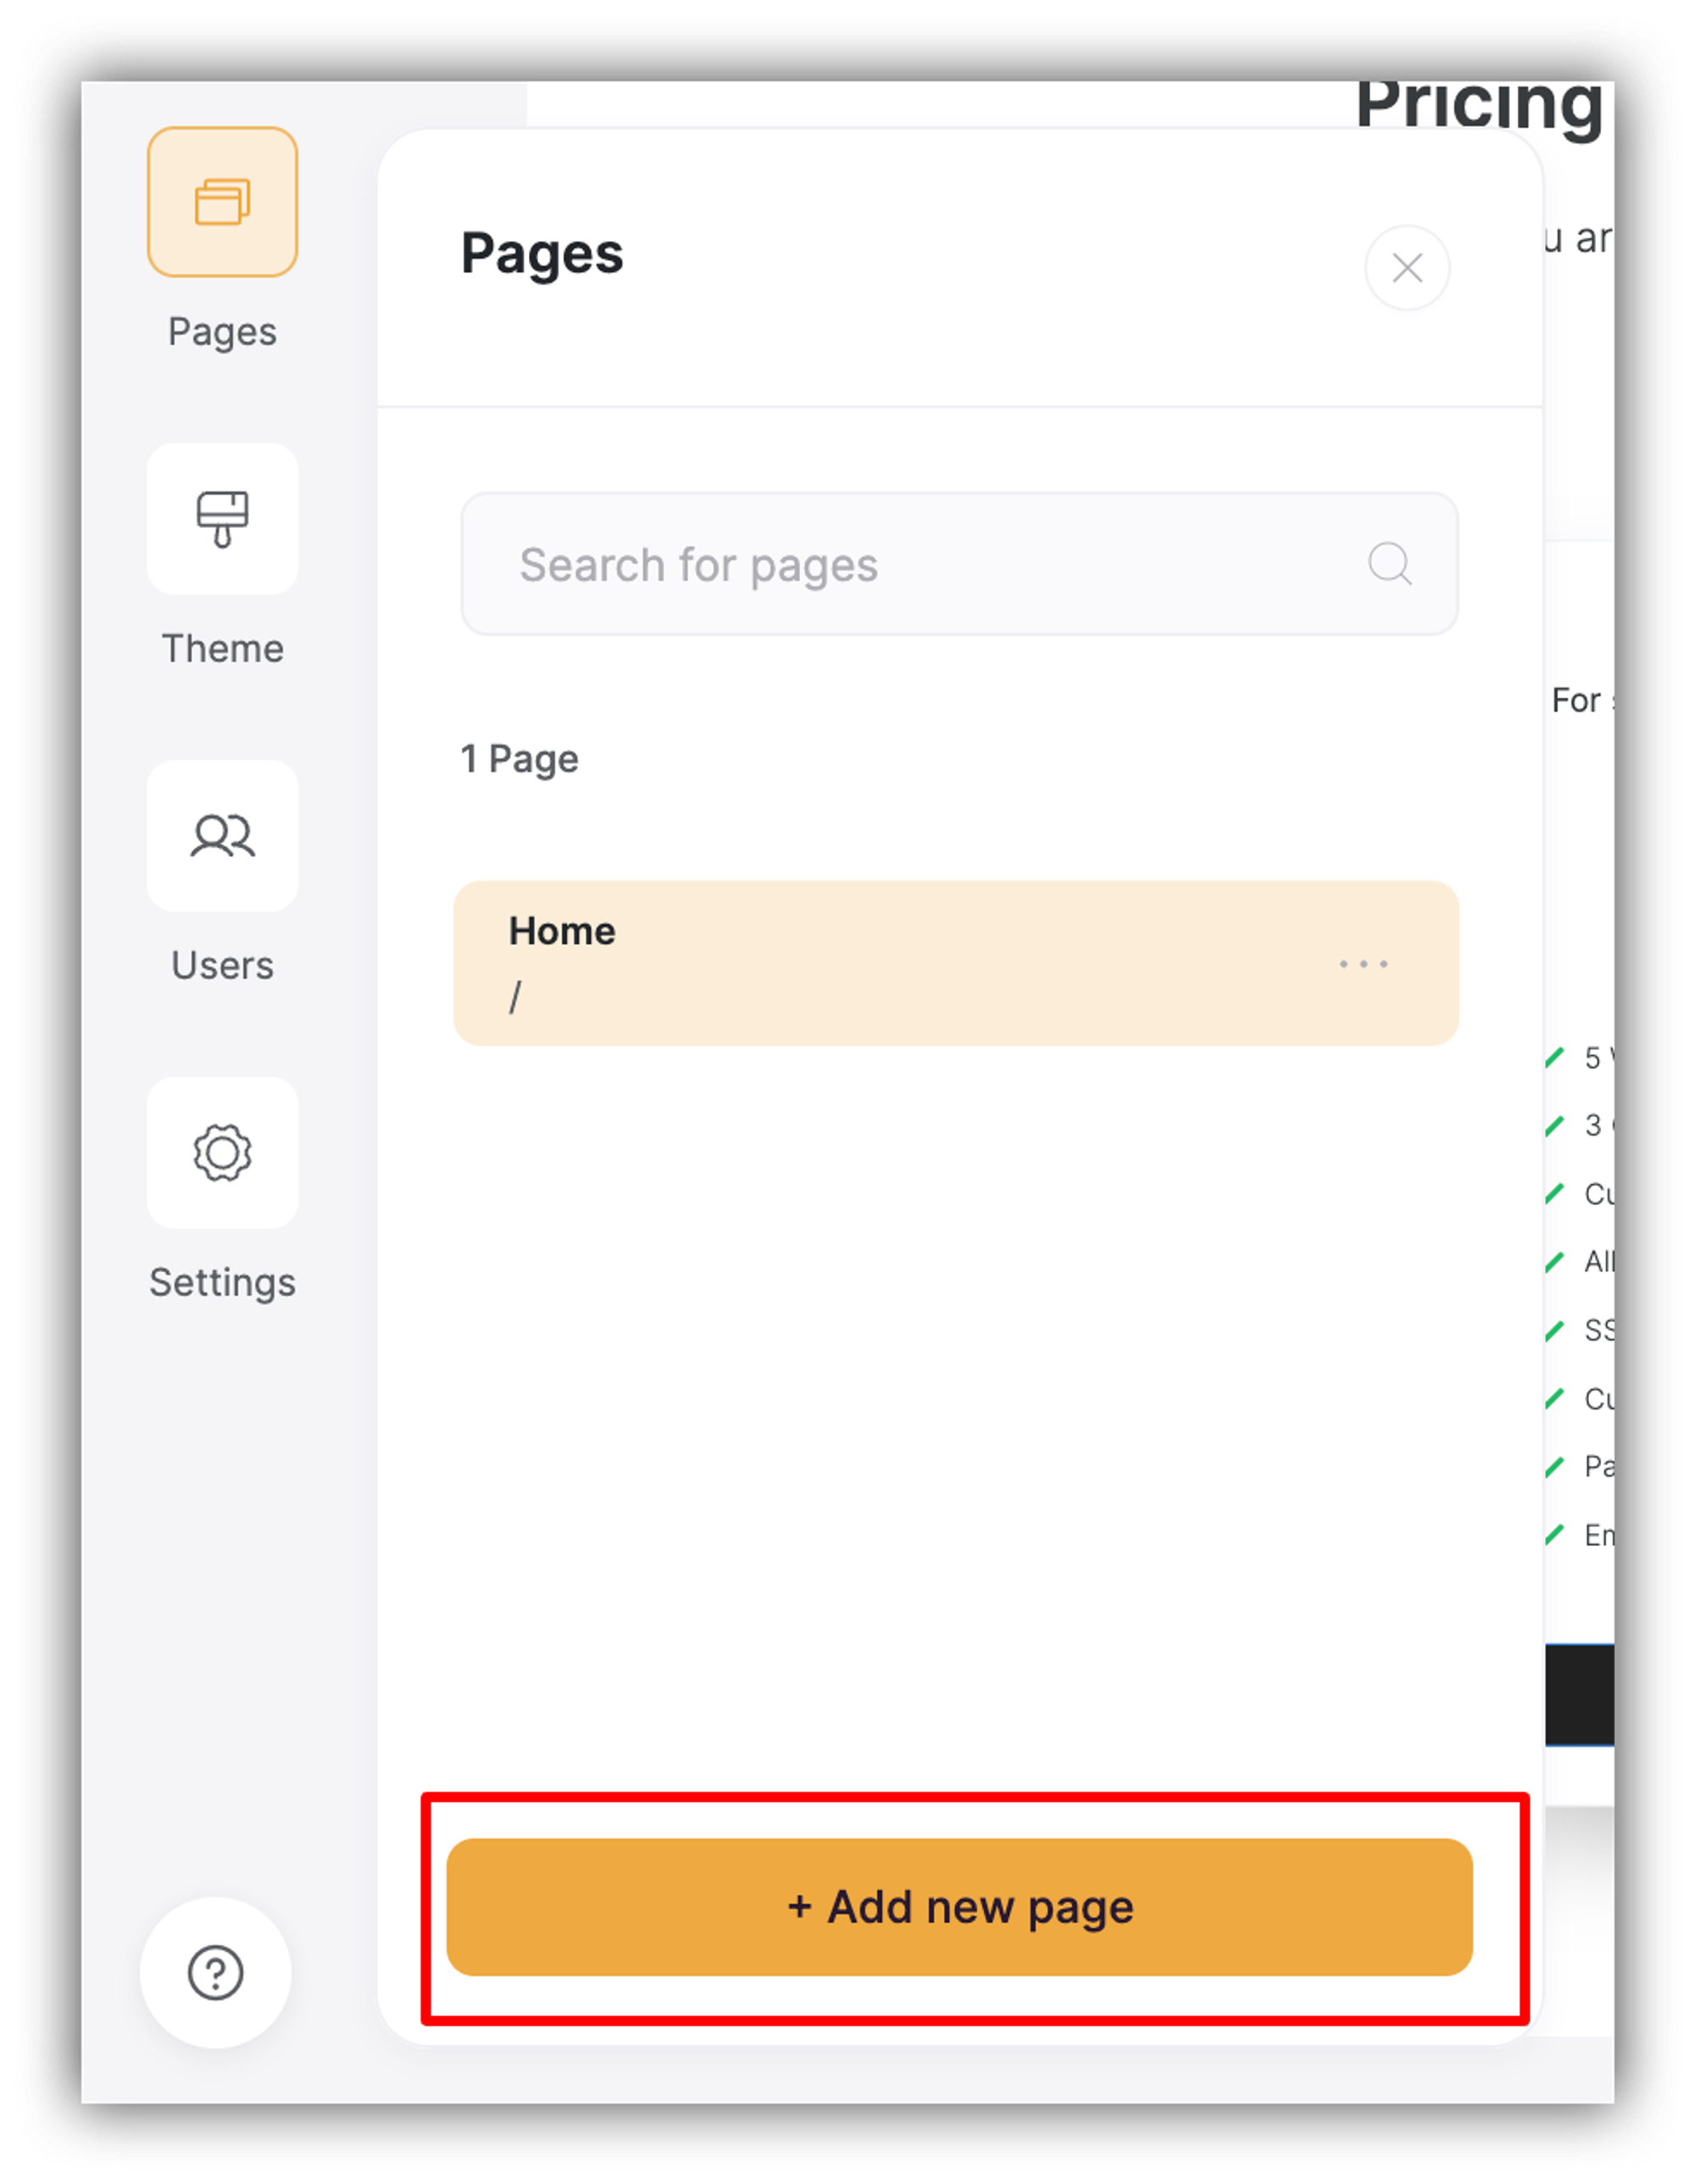
After creating an application, you can access its pages by clicking on Pages in the left-side toolbar. You will already have a Home page by default and can start creating new pages using the Add Page button at the bottom.
Each page has a three dots icon on it, which opens a menu with the following options: Settings, Duplicate, and Delete.
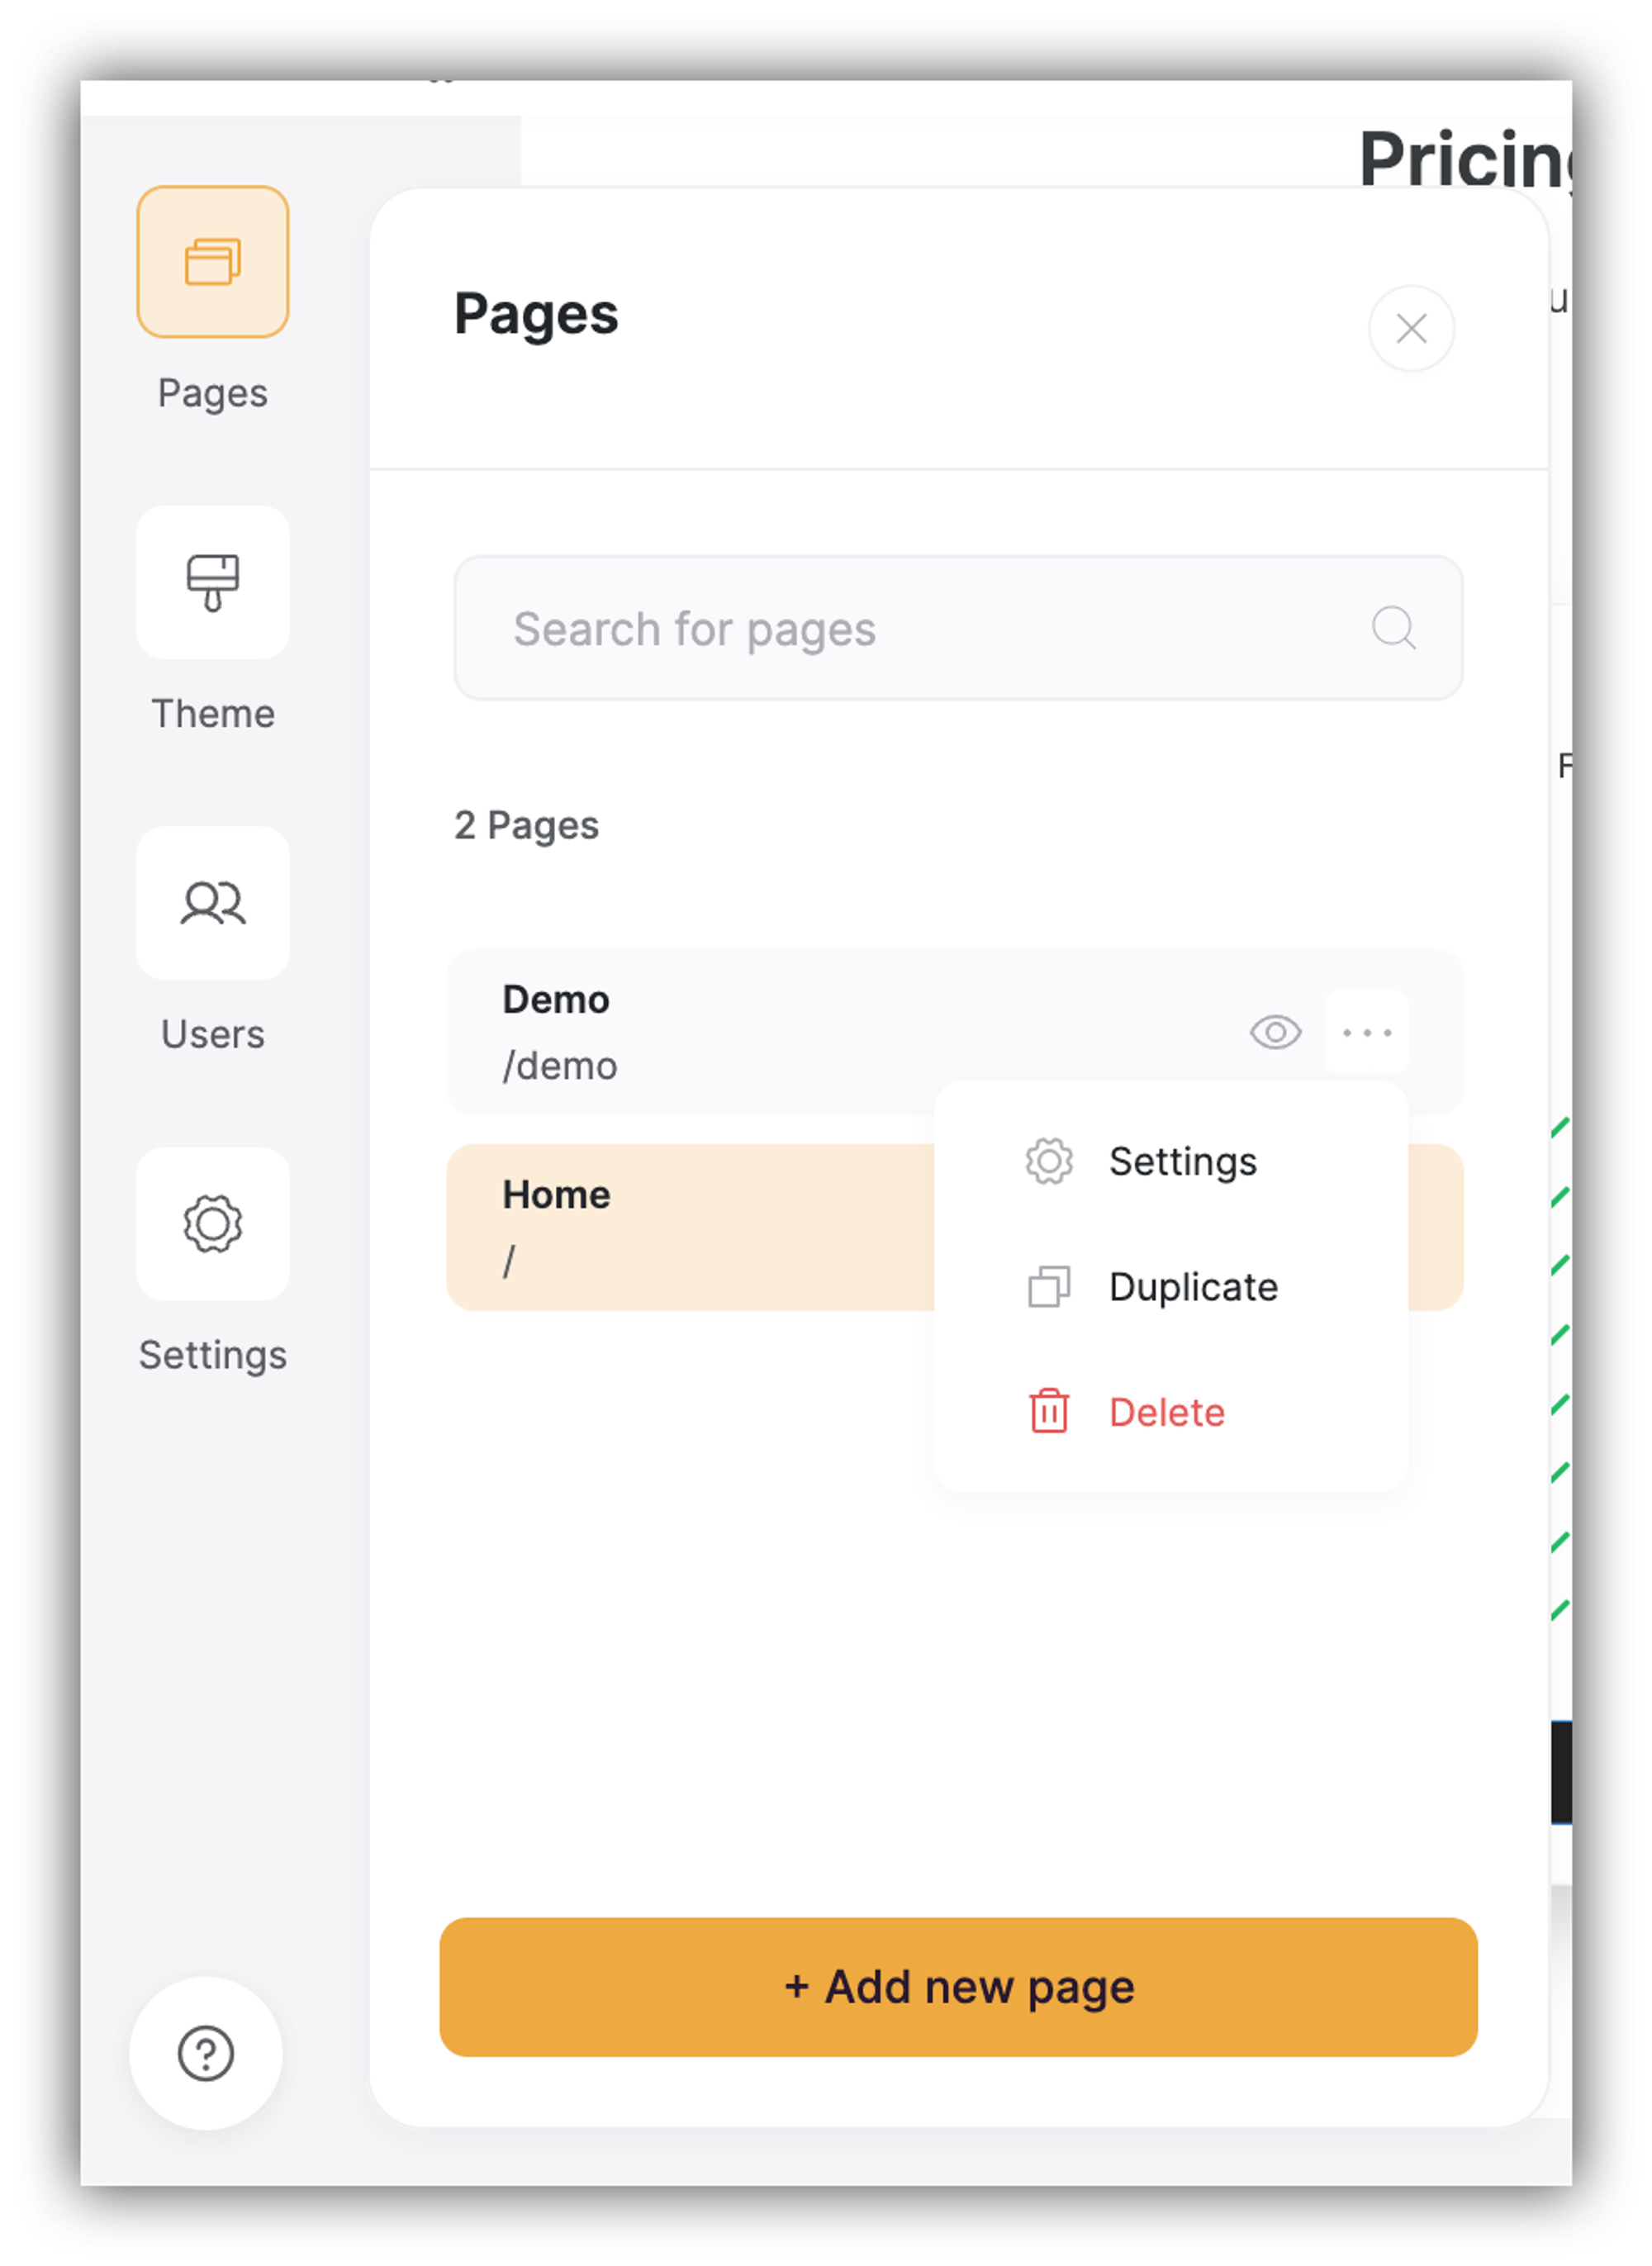
Well, the Delete option is obvious. It simply removes the page from your Softr app. Now, let’s check out the Duplicate action, and then we’ll get back to page Settings and review the configuration options.
Duplicating a page
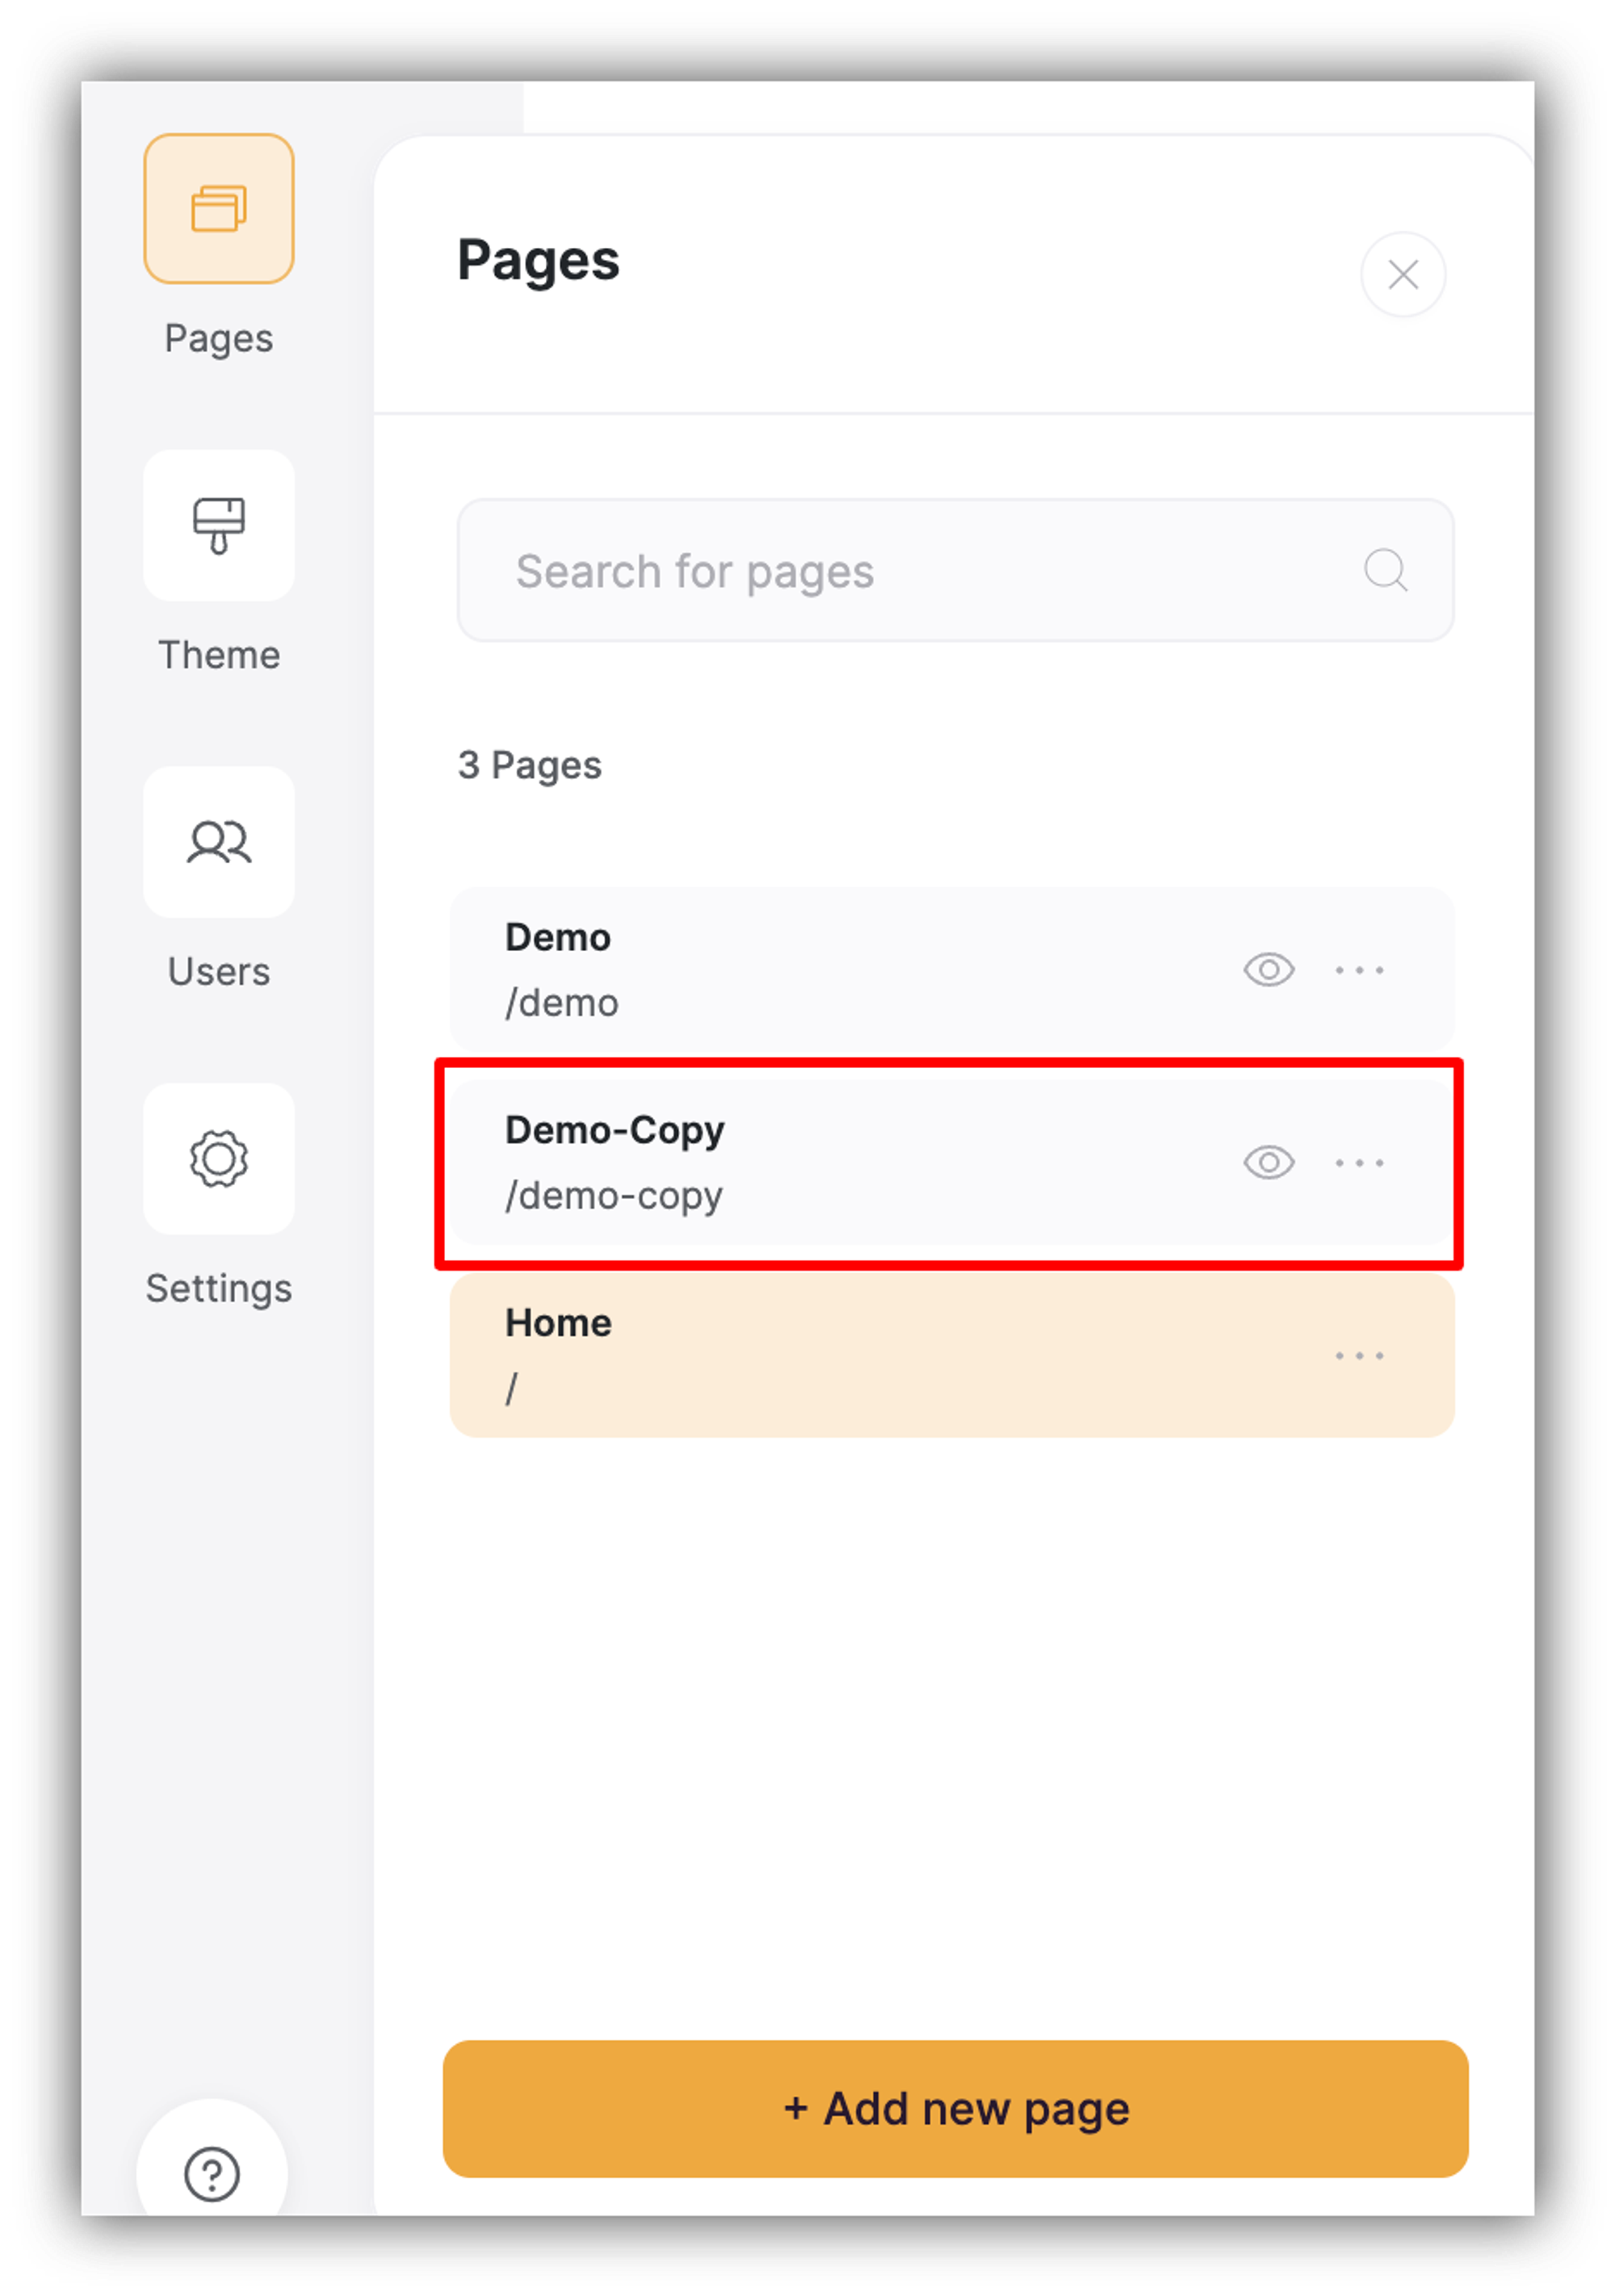
After clicking on Duplicate, a copy of the page will be created below.
Enabling and disabling a page
You'll notice that each page has an "eye" icon on it, which can be used to disable it. If you disable a page, it won't go anywhere and will just become unavailable (e.g. user won't be able to access it through its URL anymore). The good thing is that you can bring it back (i.e. enable it) whenever you want. See below how it works.

Page Settings
As mentioned above, you can access the page settings by opening the page's menu and choosing Settings. Let's review all the settings one by one.
General
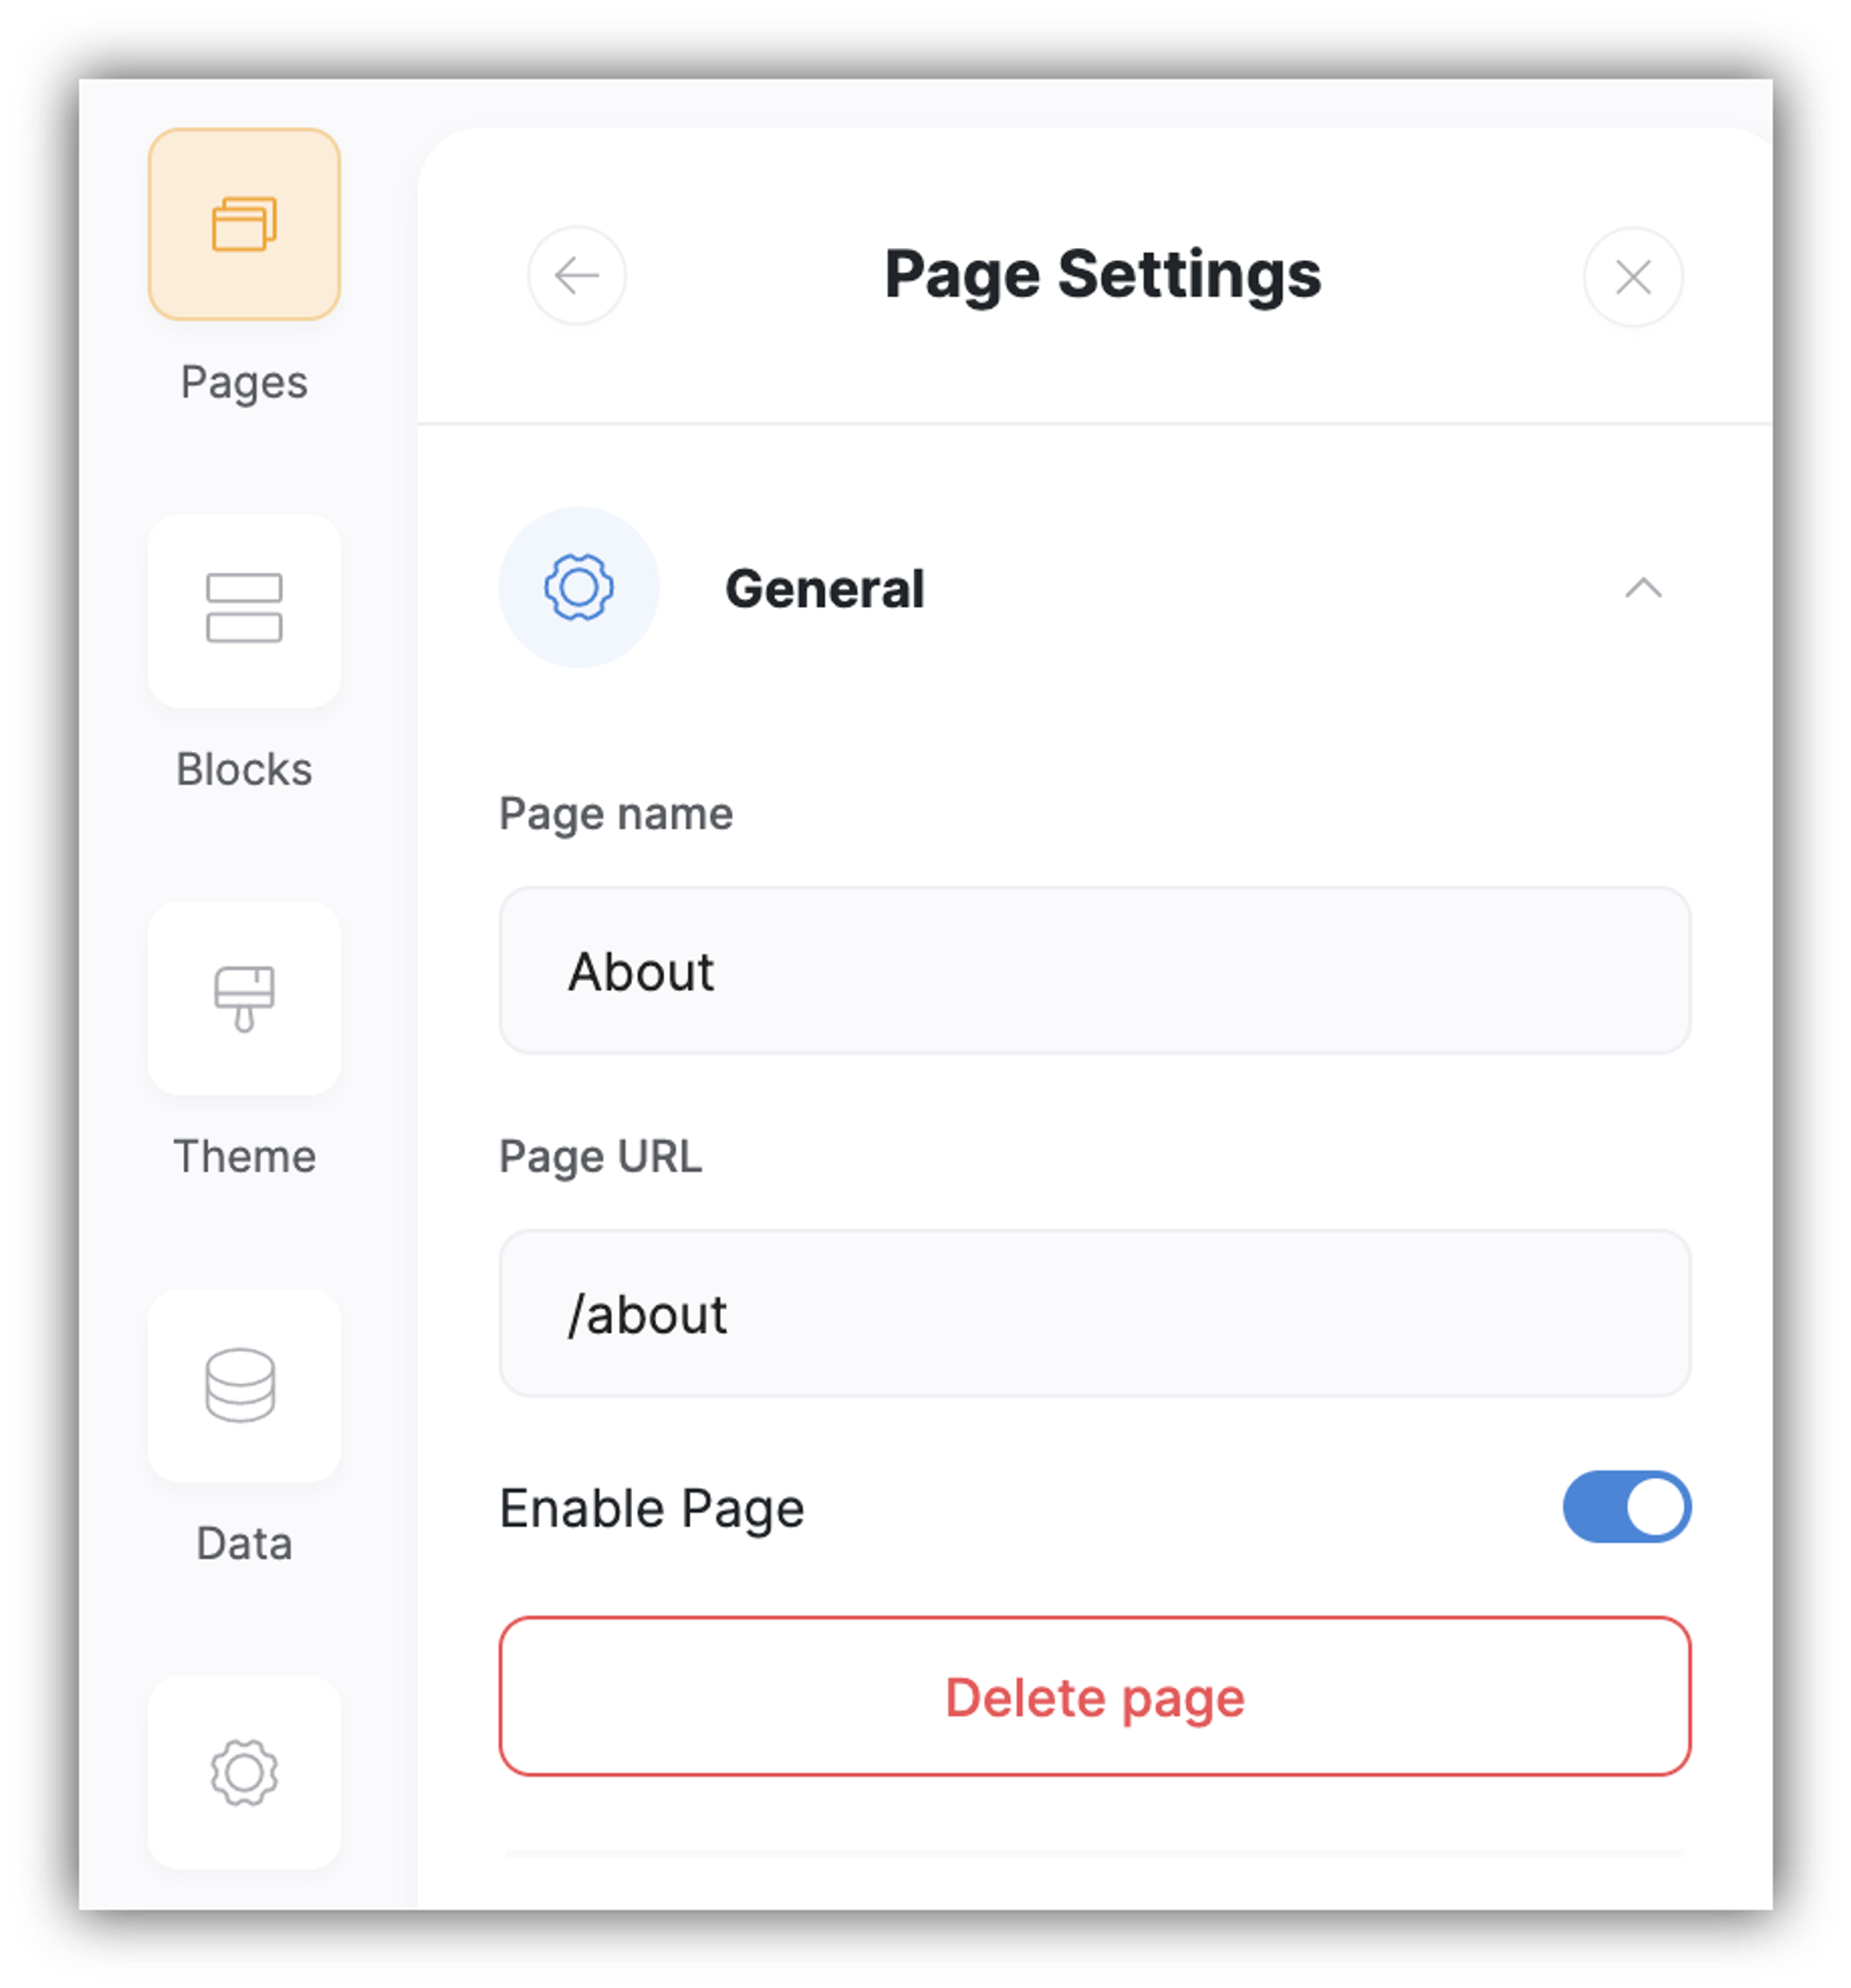
In the General section, you have the Page Name and URL fields, where you can edit the name and URL you had assigned to the page on creation. You can also Disable page (i.e. hide it) and Enable any time later on.
Lastly, there's the Delete Page button to remove the page from your Softr app if needed.
SEO
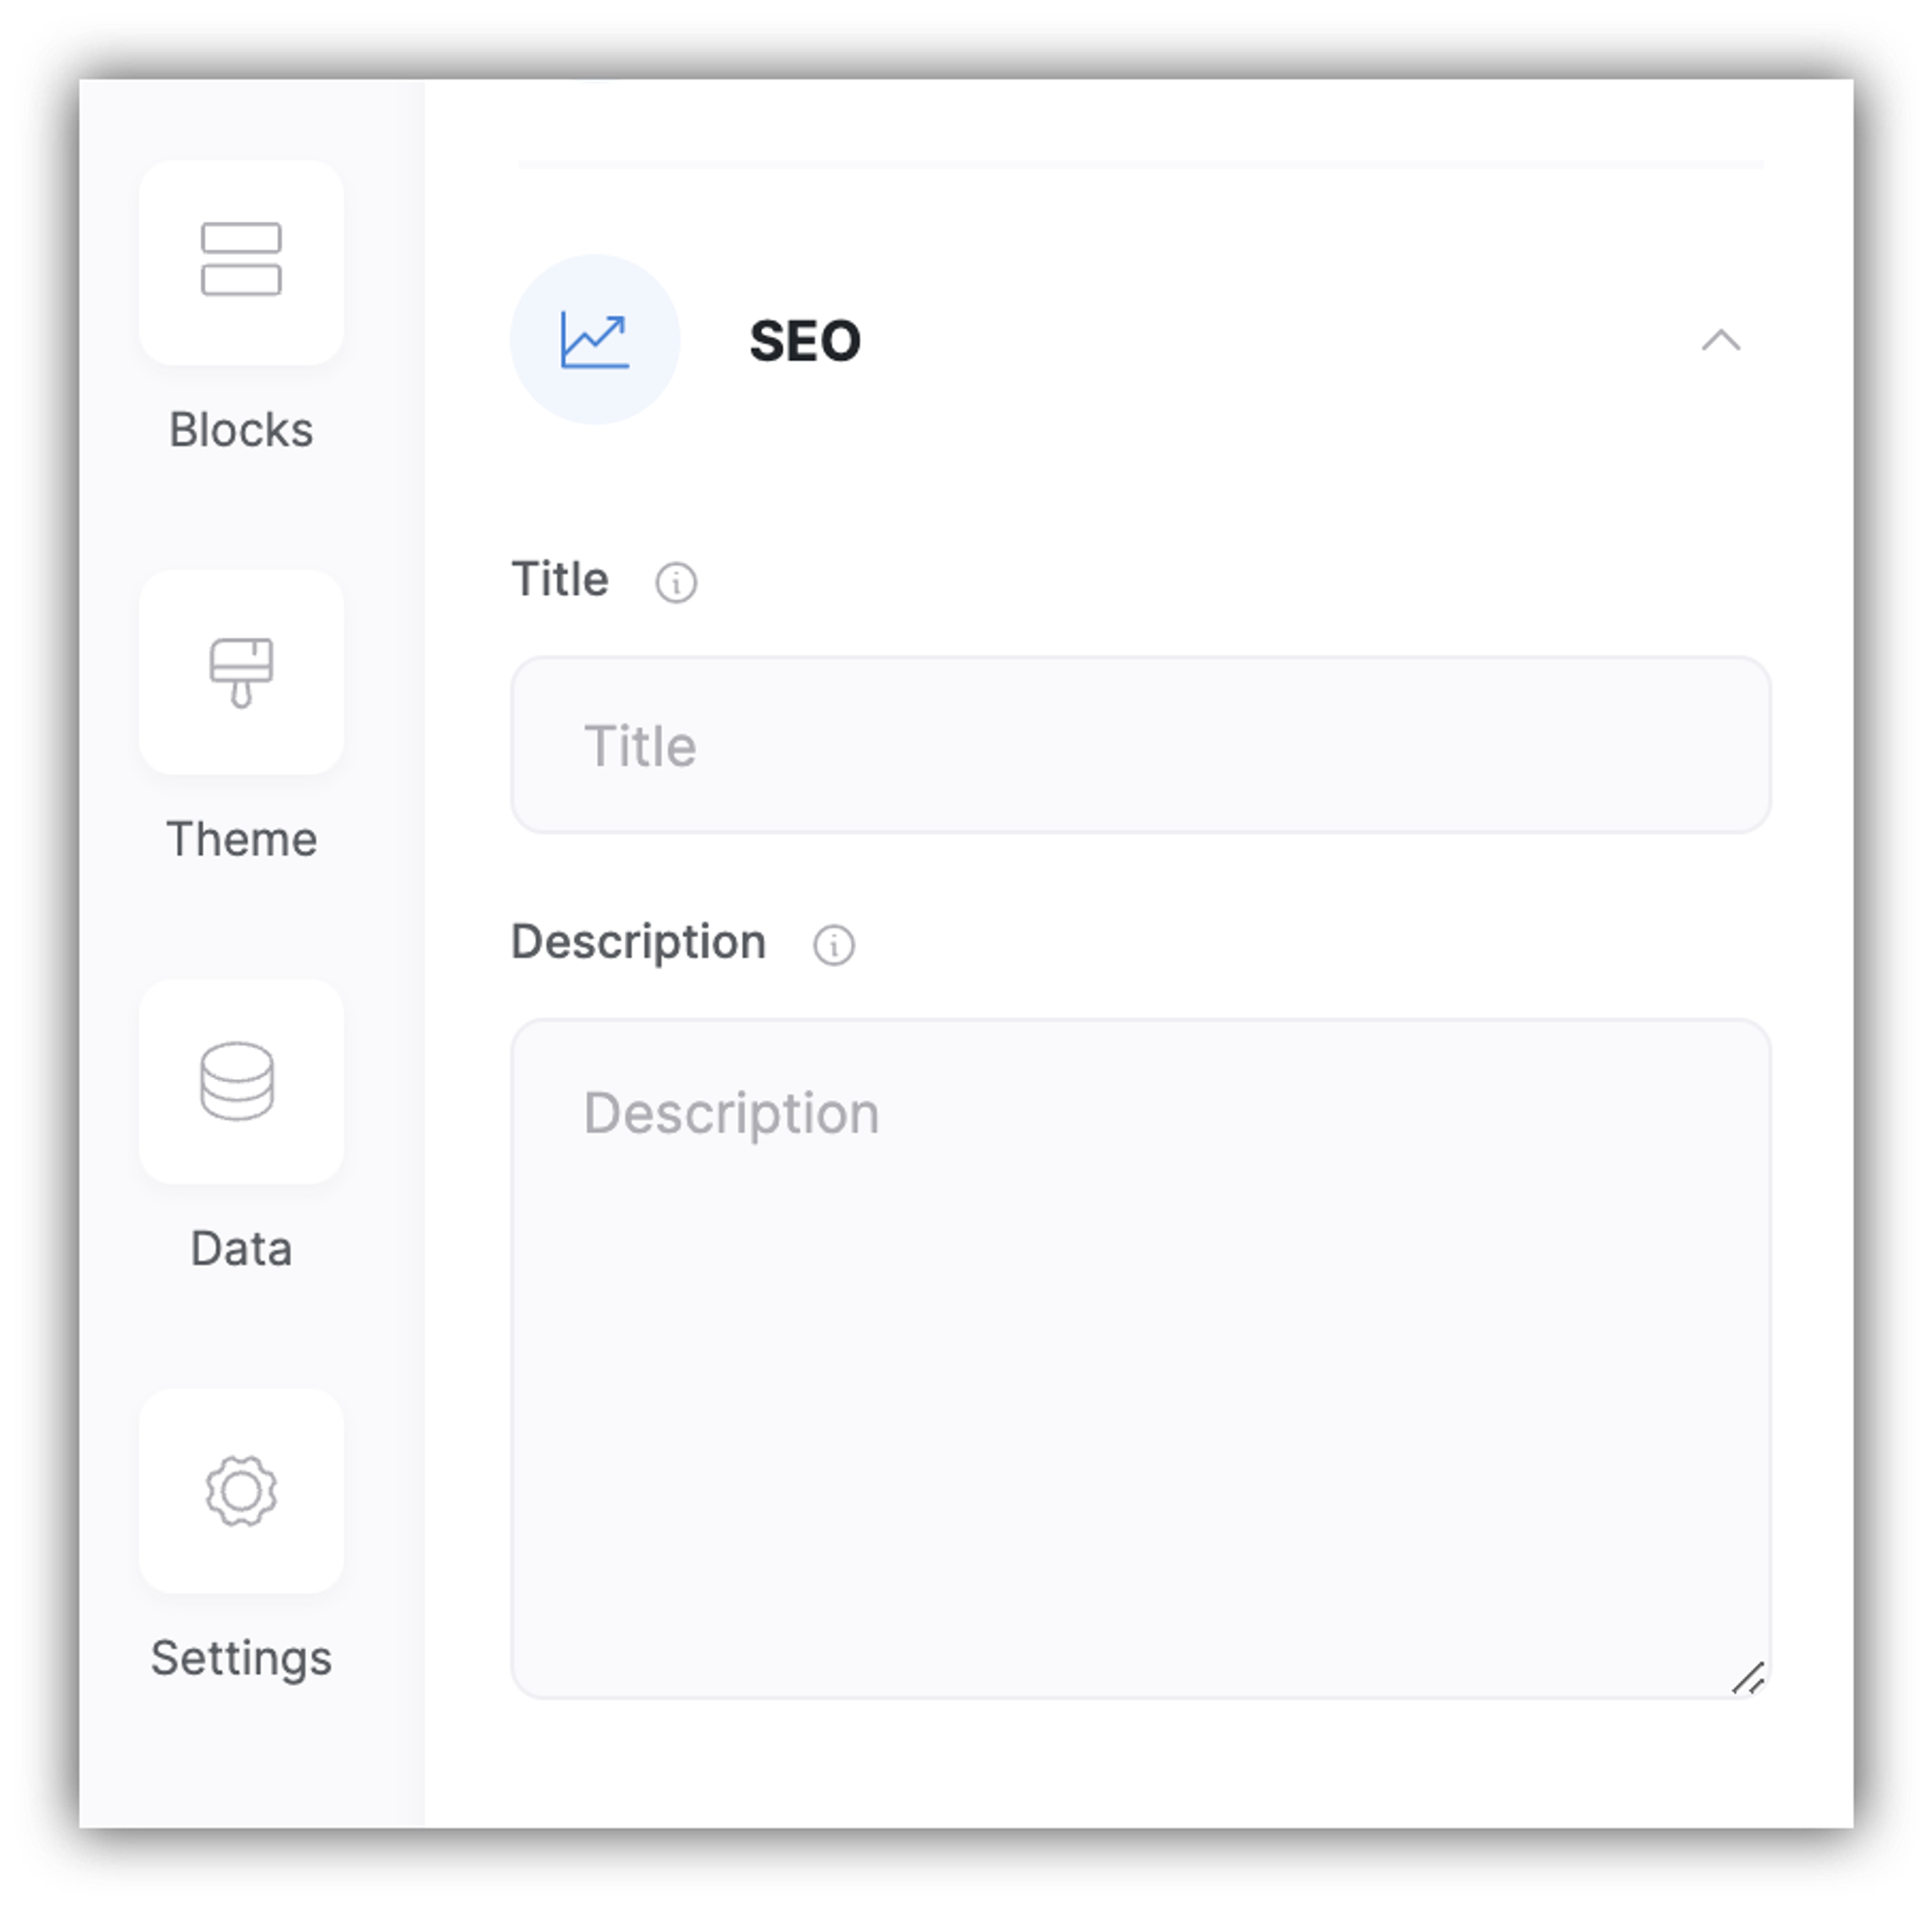
In the SEO section, we have page Title and Description. In the Title field you set the HTML title tag, which appears in the HTML head section of the page. It is also called the SEO title of the page. In the Description field, you add the meta description of the page, which appears in the head section as well. Let’s consider a specific example. When you search for something on the web, you receive a list of results presented as snippets. The title and description you’ve provided for your page will appear here in the snippet as shown below.

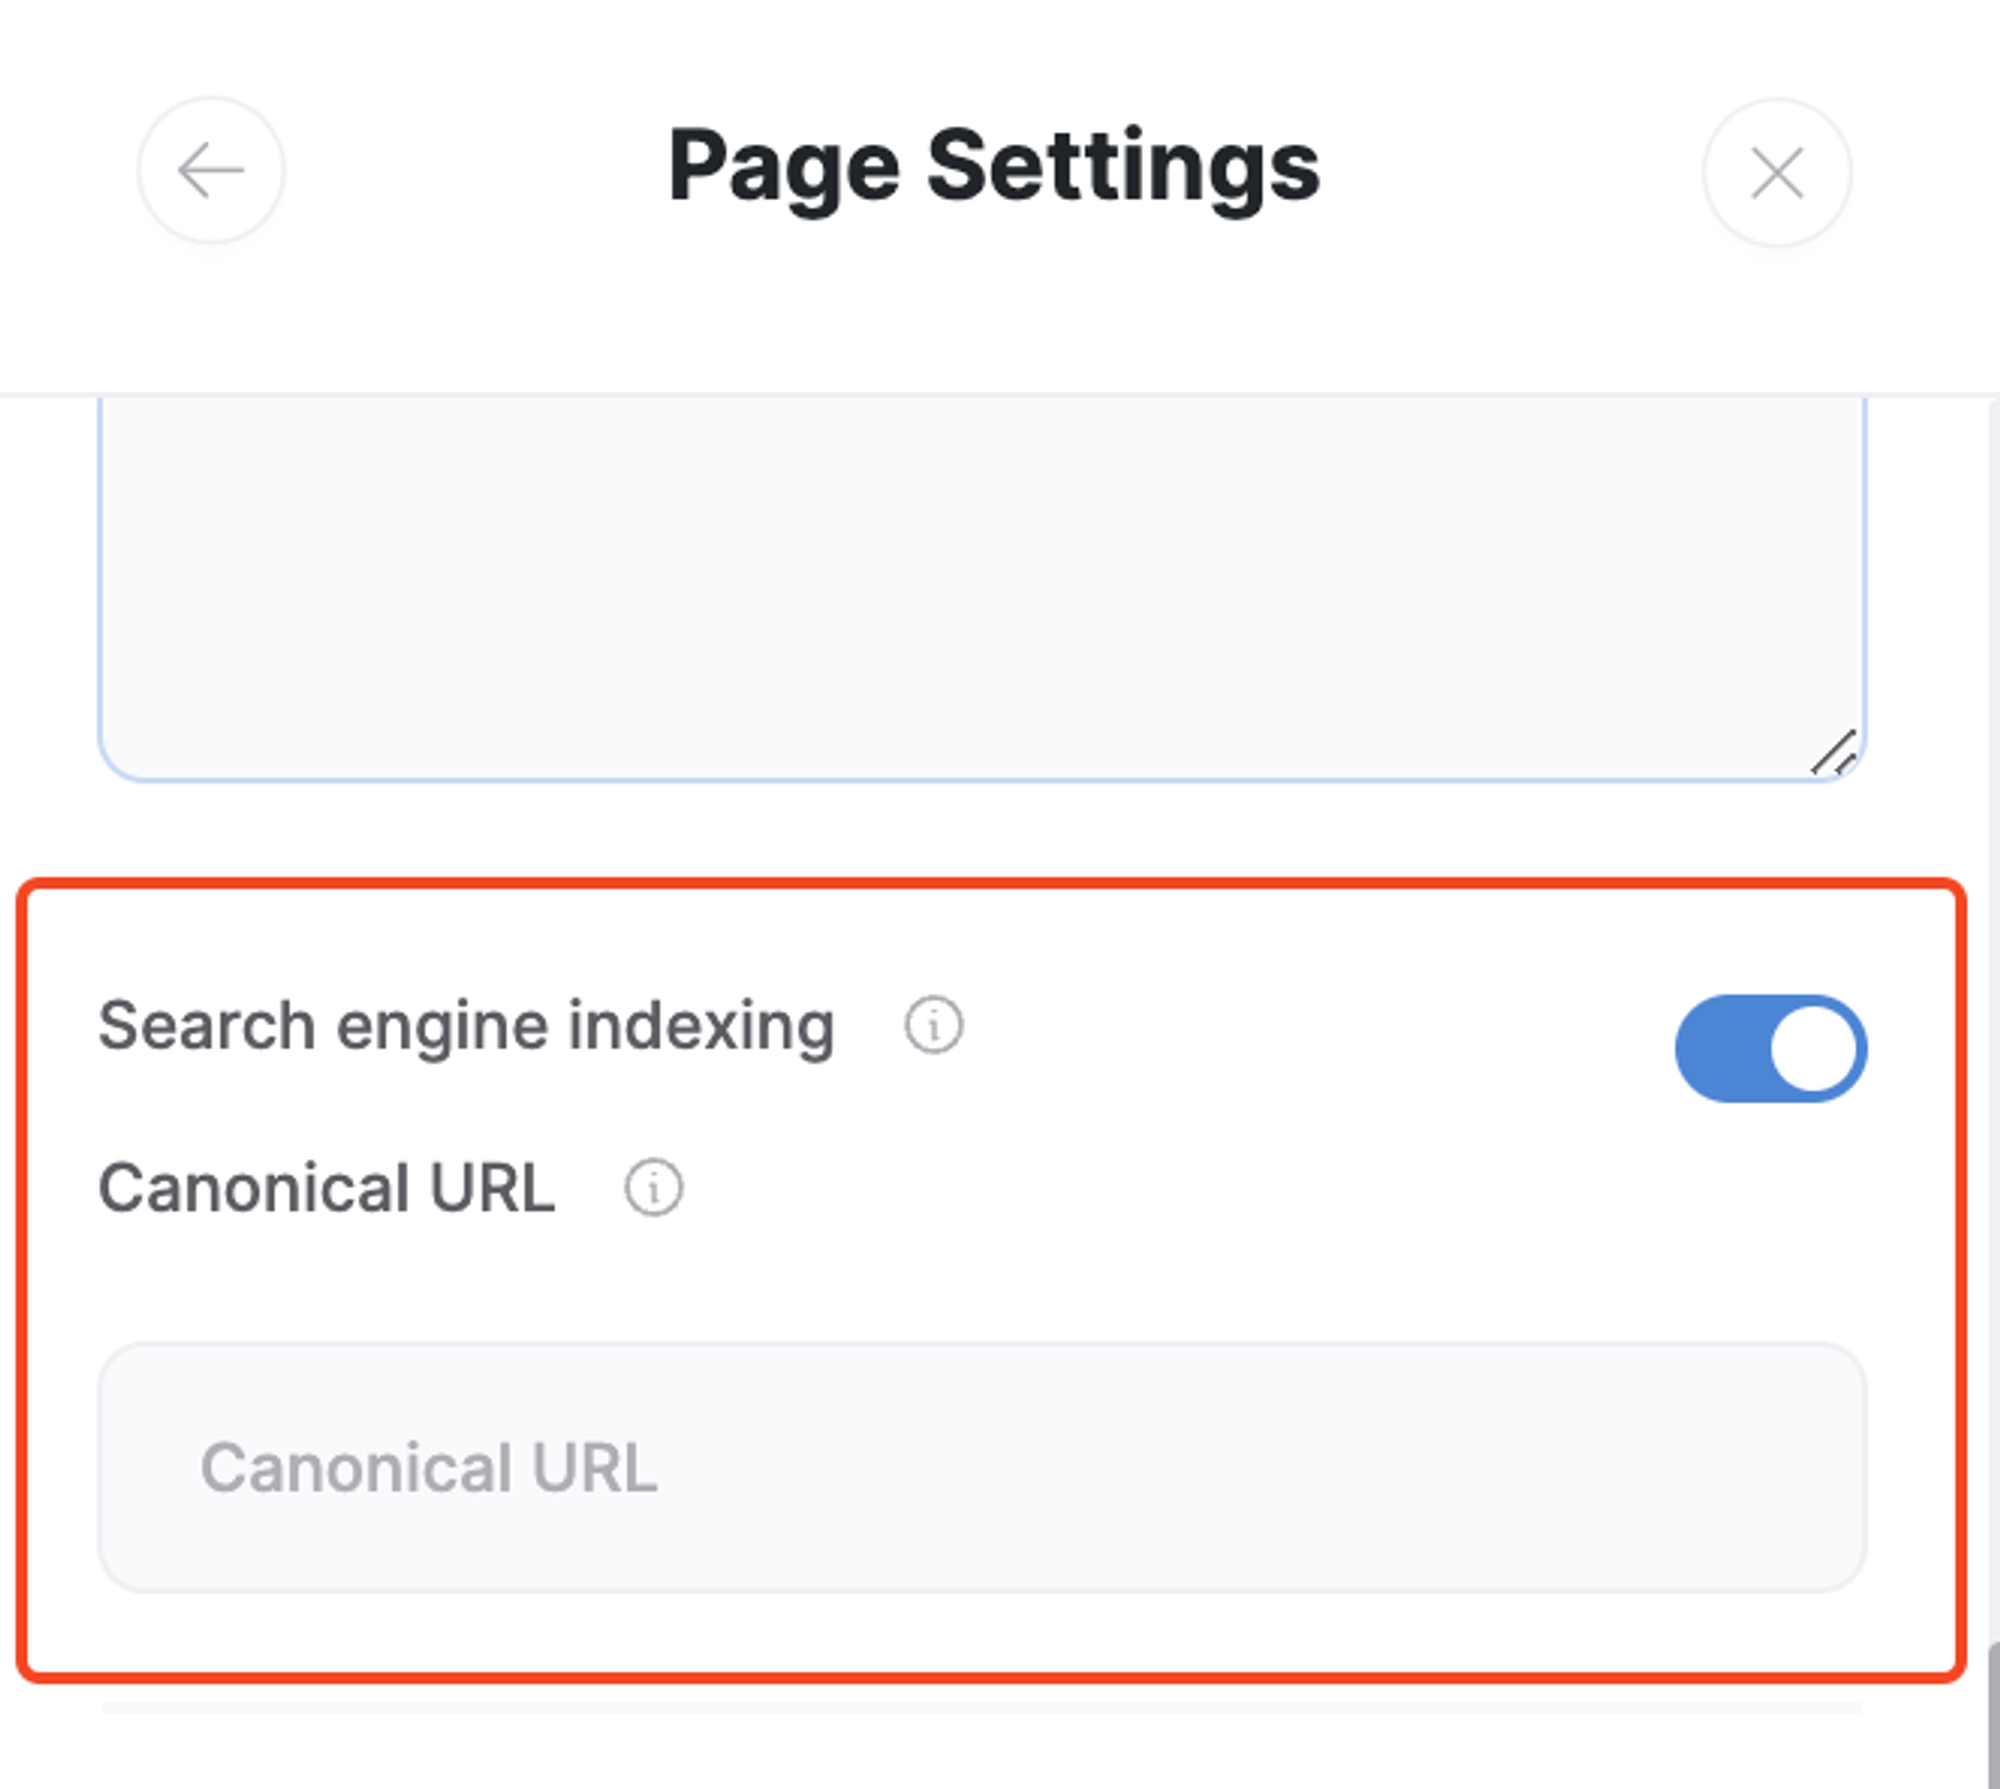
Next, we have the Search engine indexing toggle, which lets you choose whether you want your page to be indexed by search engines or not.
And lastly, you have a field to define a canonical URL for your page.
Social
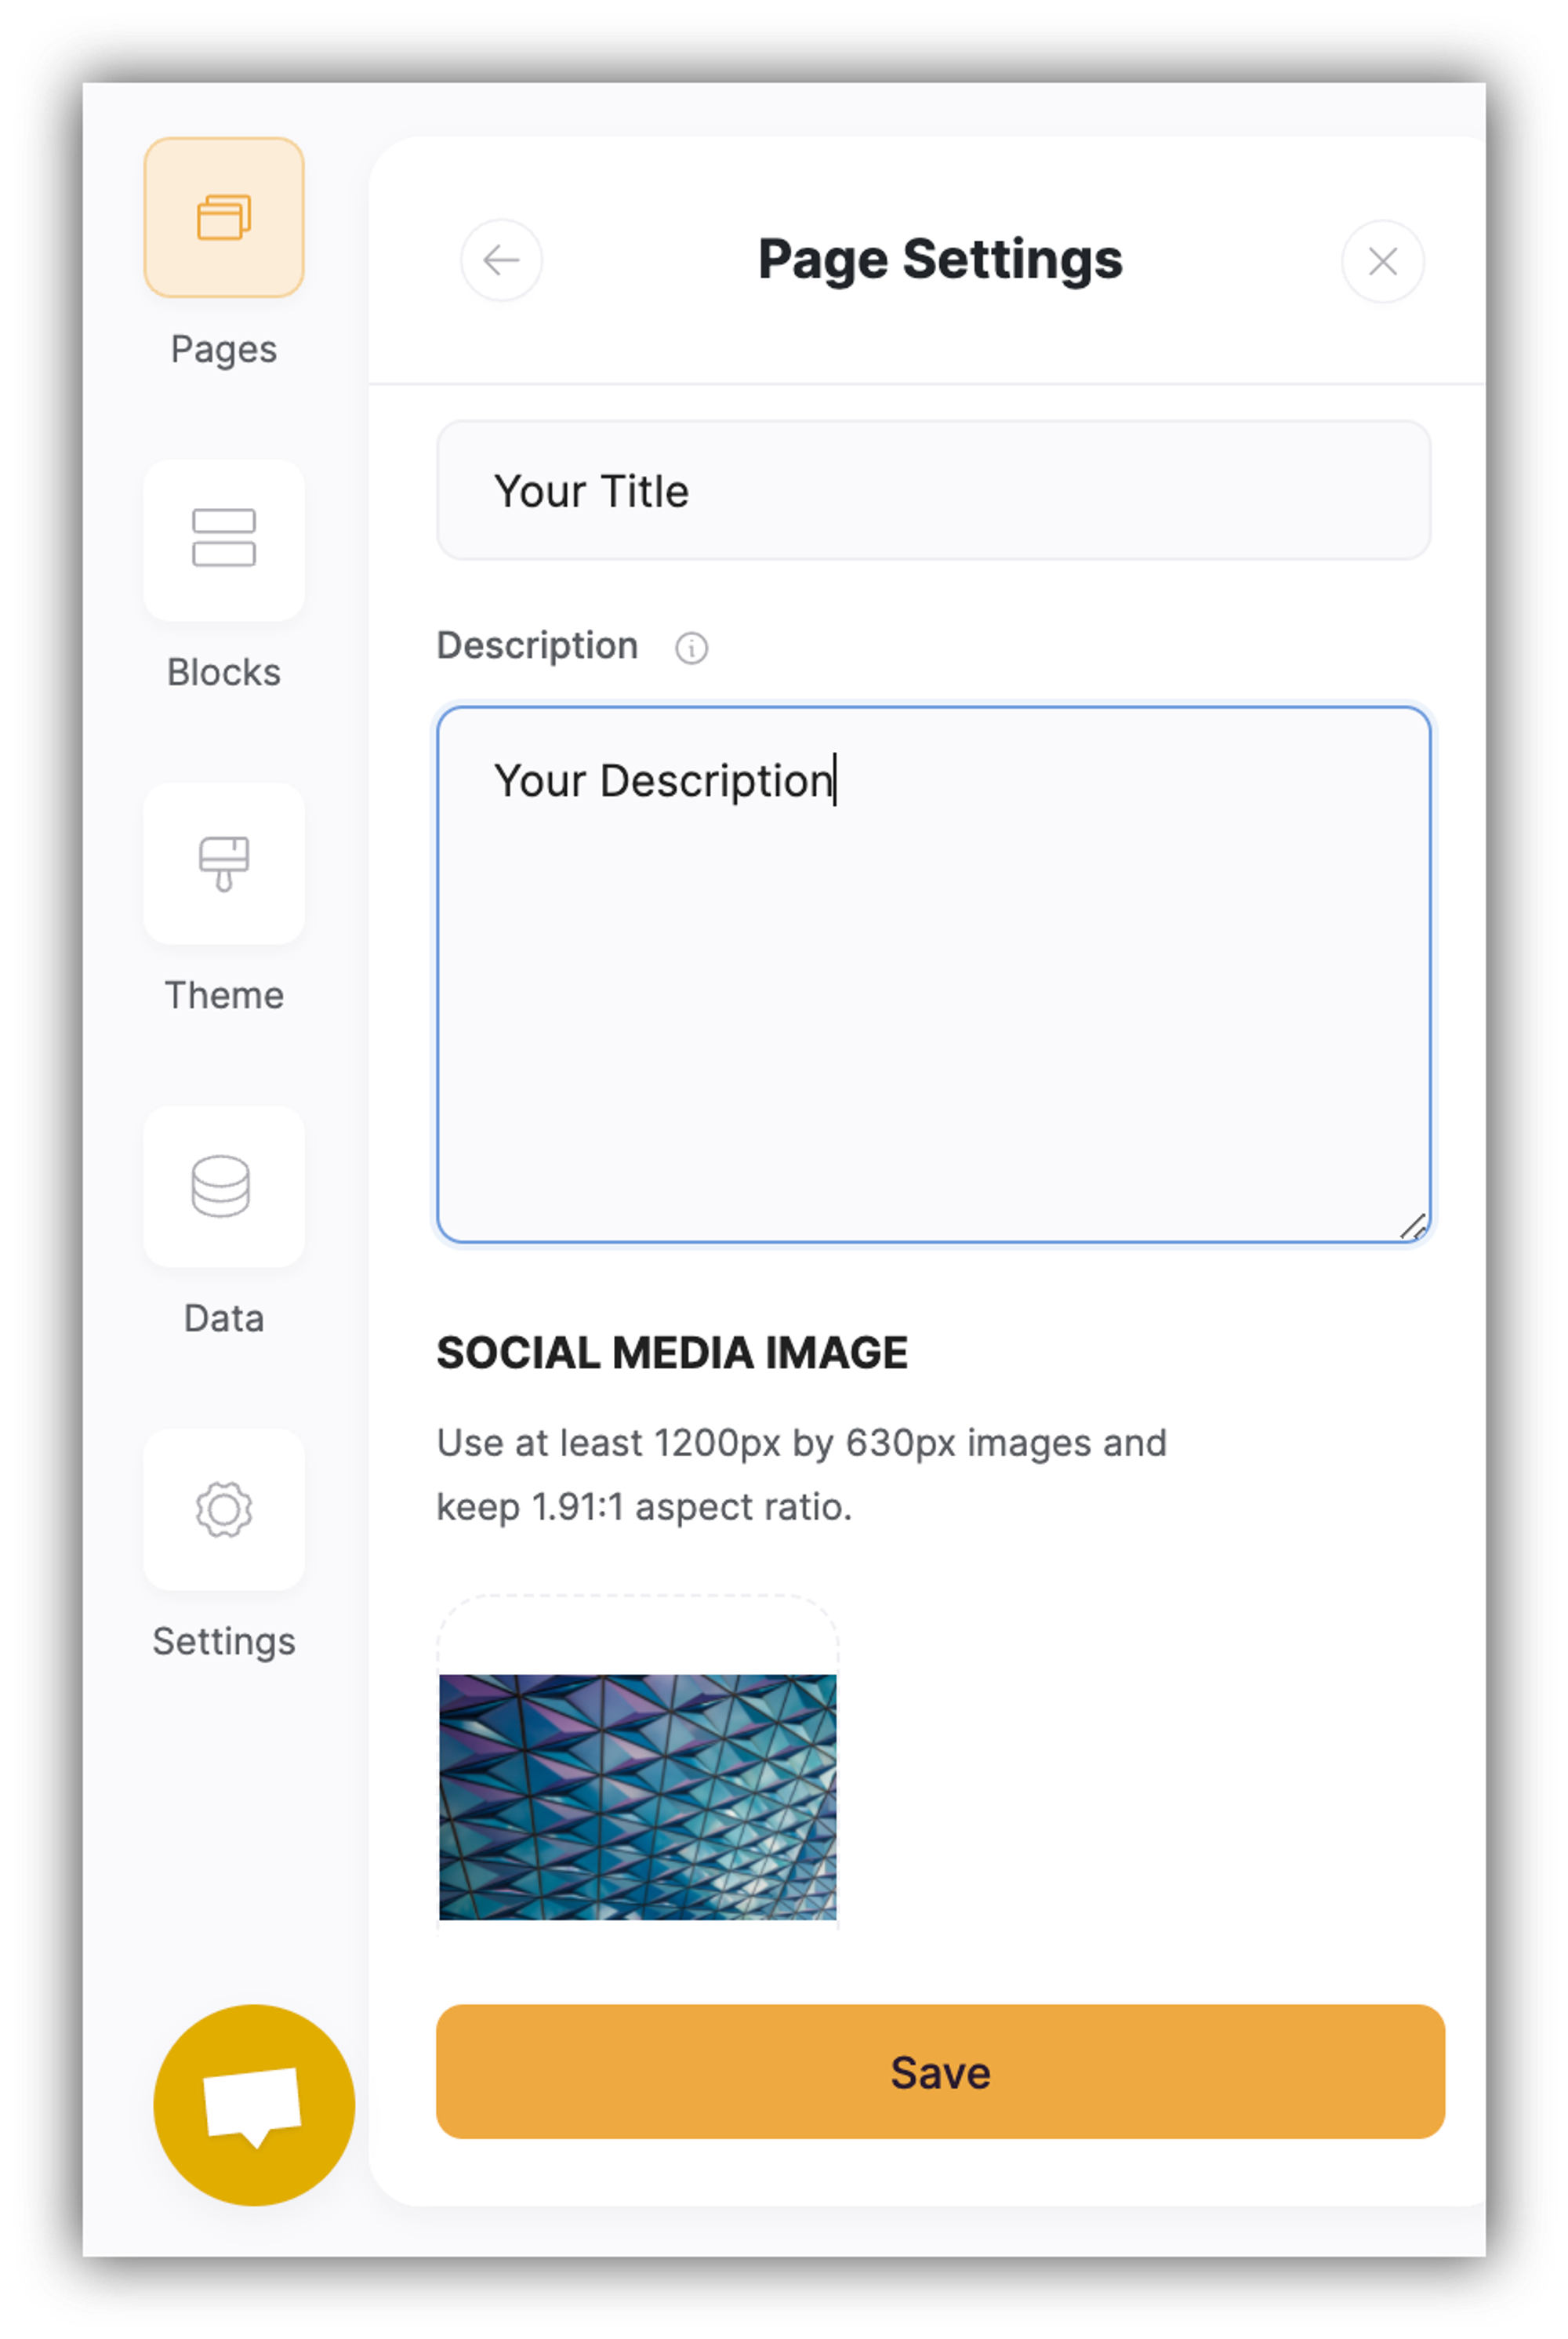
Next, in the Social section, we have three fields for configuring the page appearance on social media. By default, if you don’t add anything in the first two fields here, the Title and Description provided in the SEO section will appear when sharing the page on social media.
The third field is for adding a custom image for social media. Please, pay attention to the image size guidelines and keep the aspect ratio.
Now, let's fill out these fields and see how they appear on social media (e.g. Facebook). Below is what we've added in page settings.
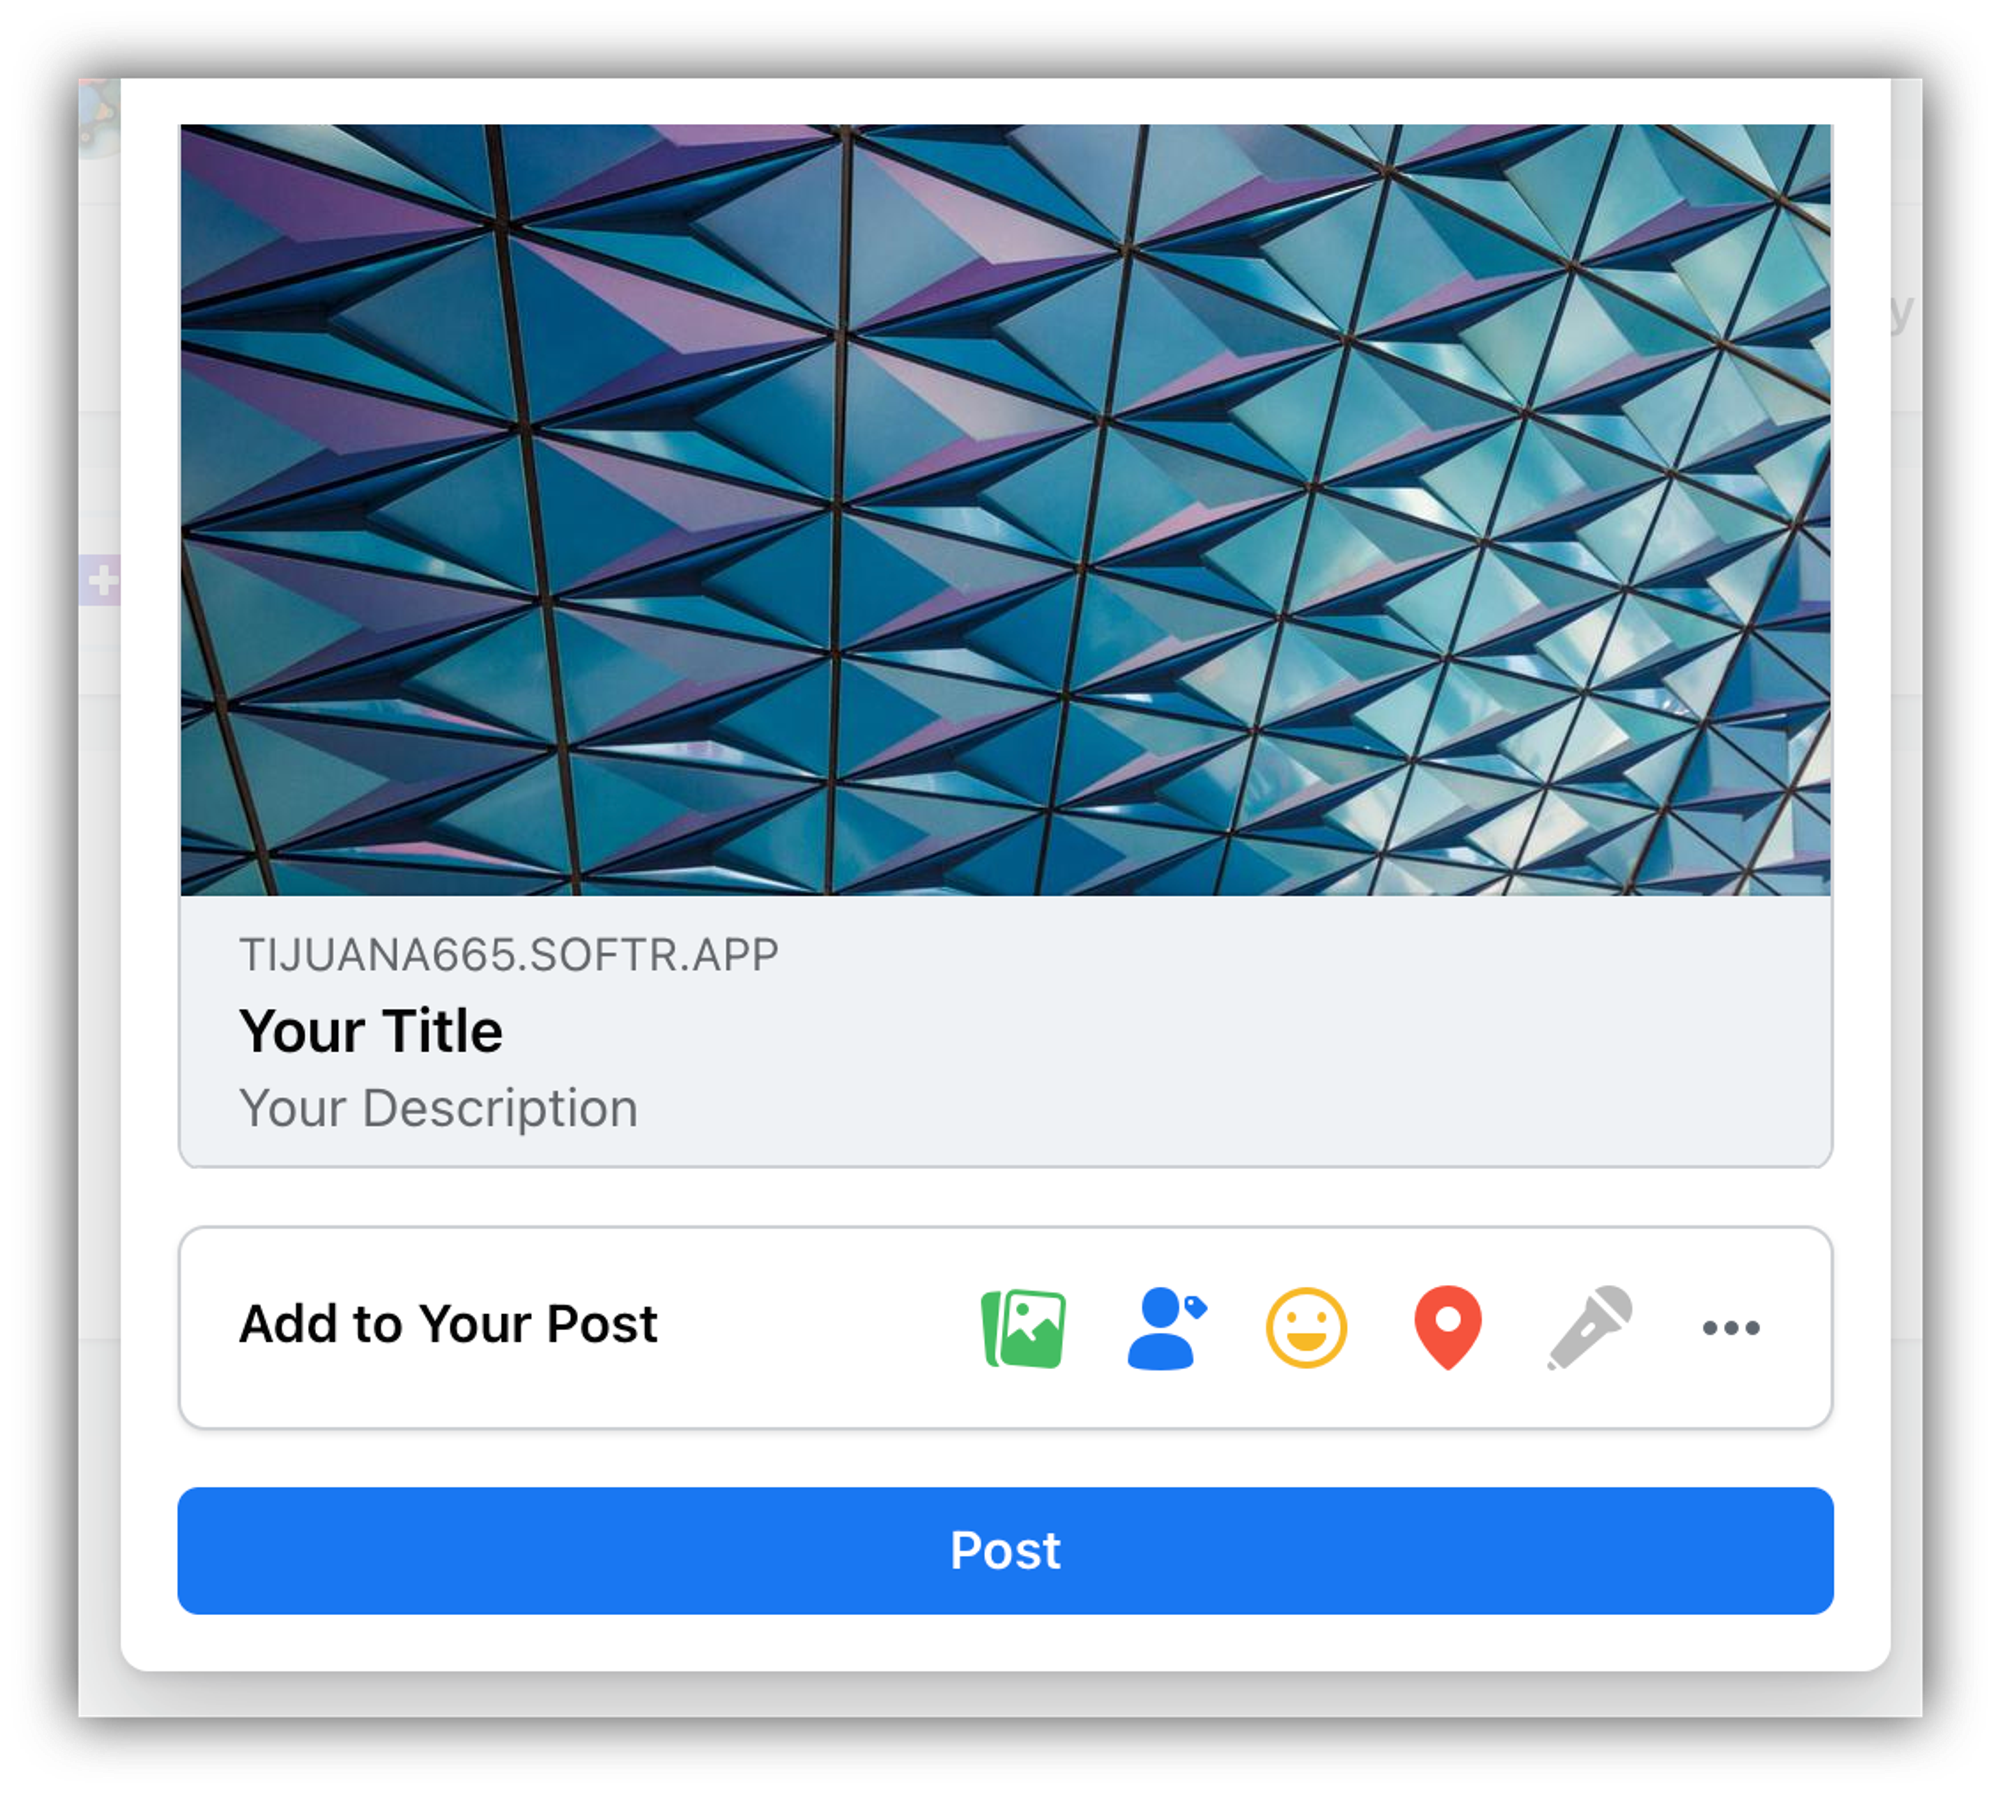
Here's what the shared page looks like on Facebook.
Default Header & Footer
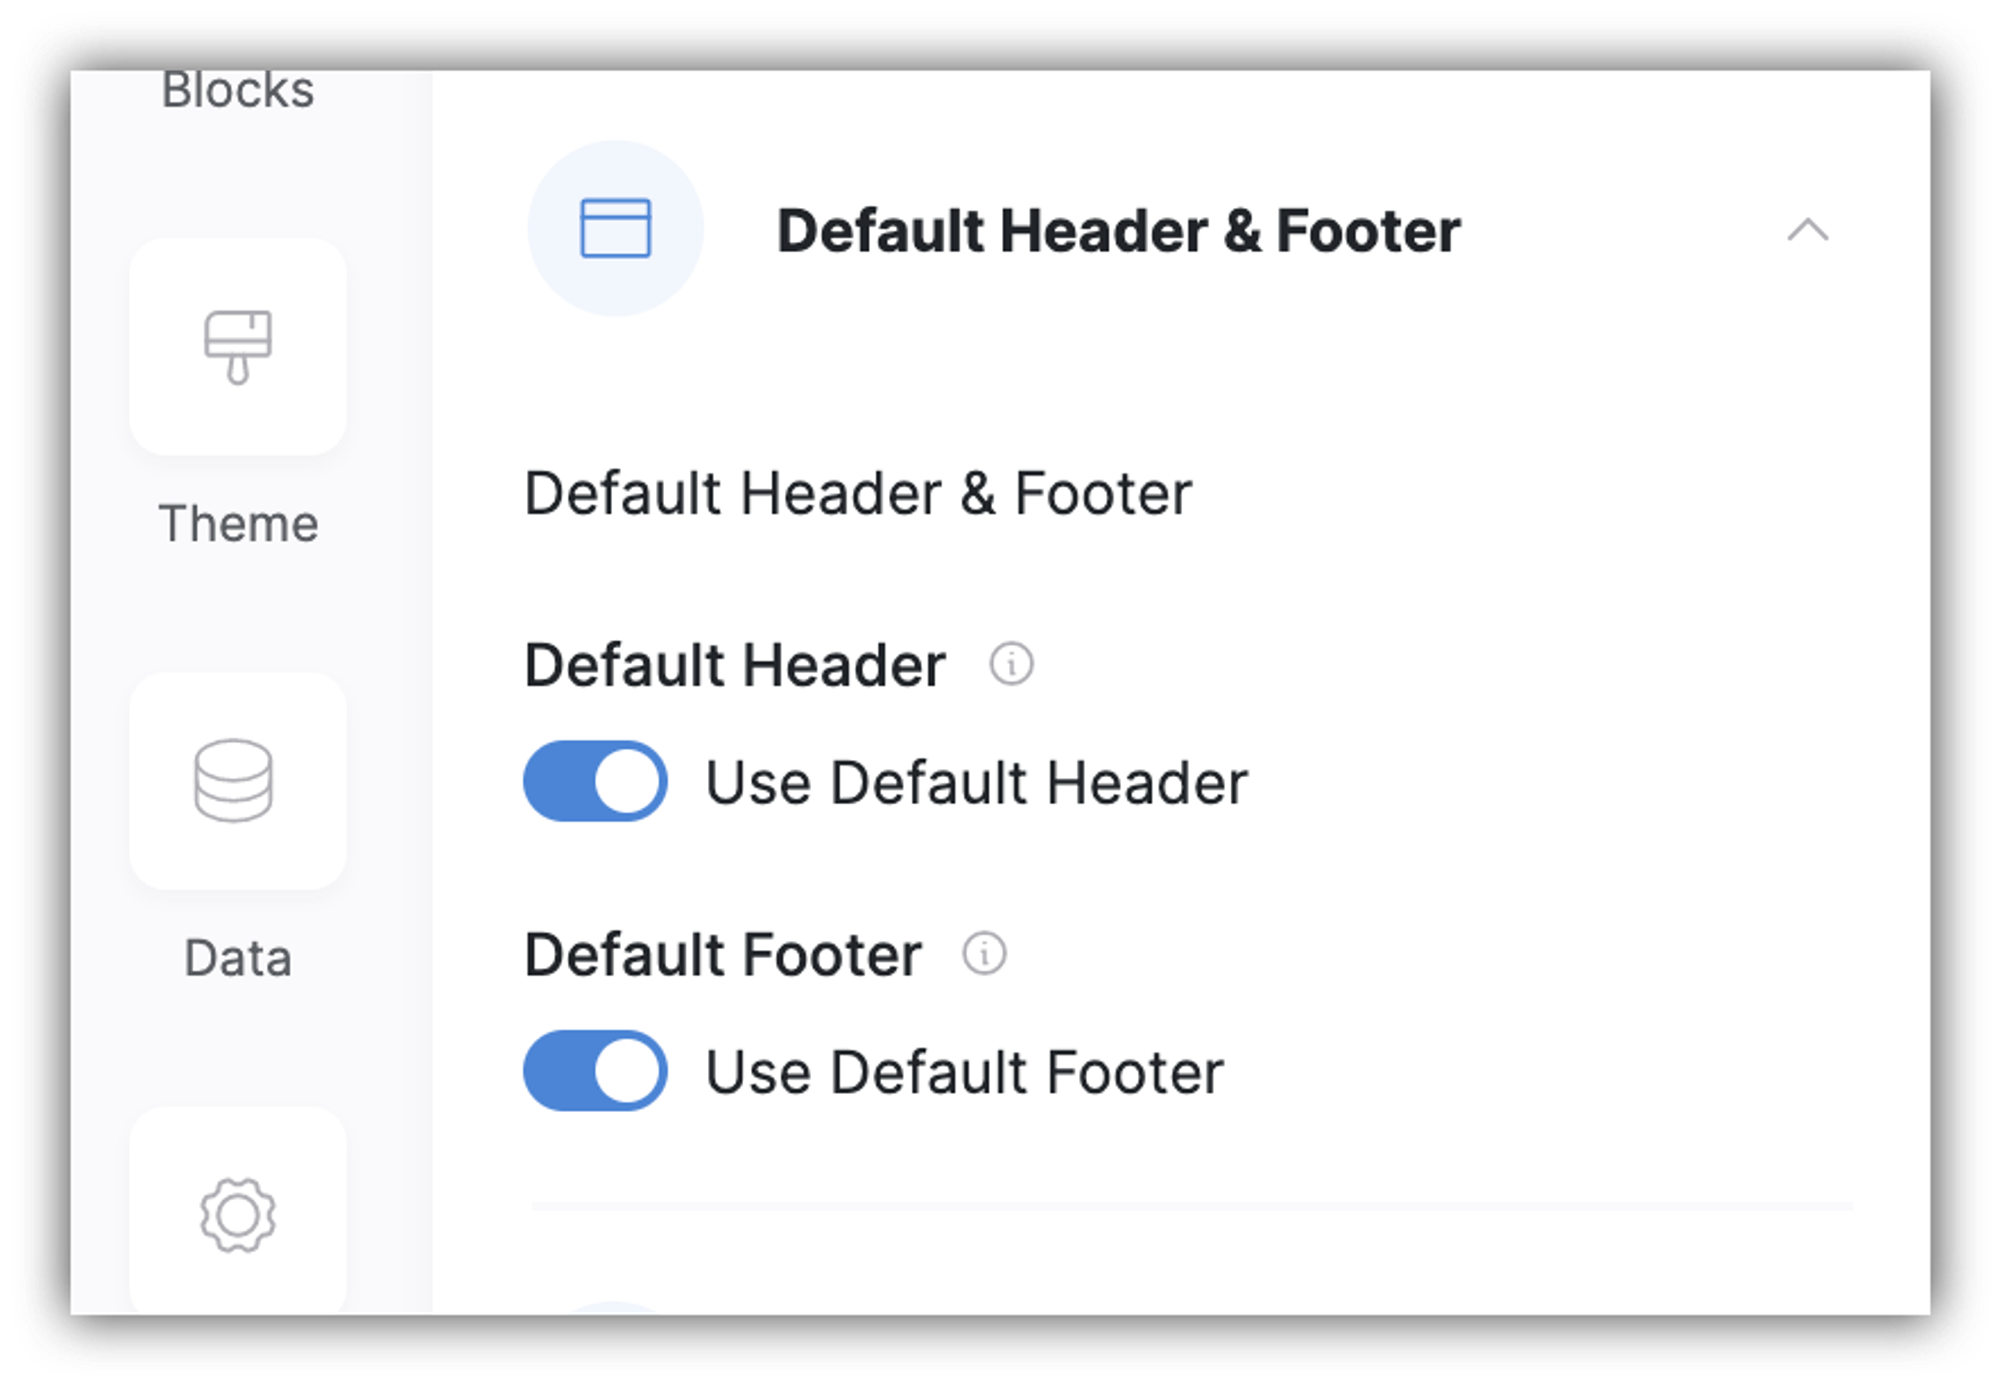
By default, if a Header and Footer are already set in the Home page, they are applied to the rest of the pages as well. In the Default Header & Footer section of the page settings, you can switch that off using the two toggles (see the screenshot above).
Visibility
Here you define which user groups the page should be visible to and can also configure paid access for the page. The details can be found here.
Custom Code
Finally, in the Custom Code section, you can add custom code to the page header or footer.
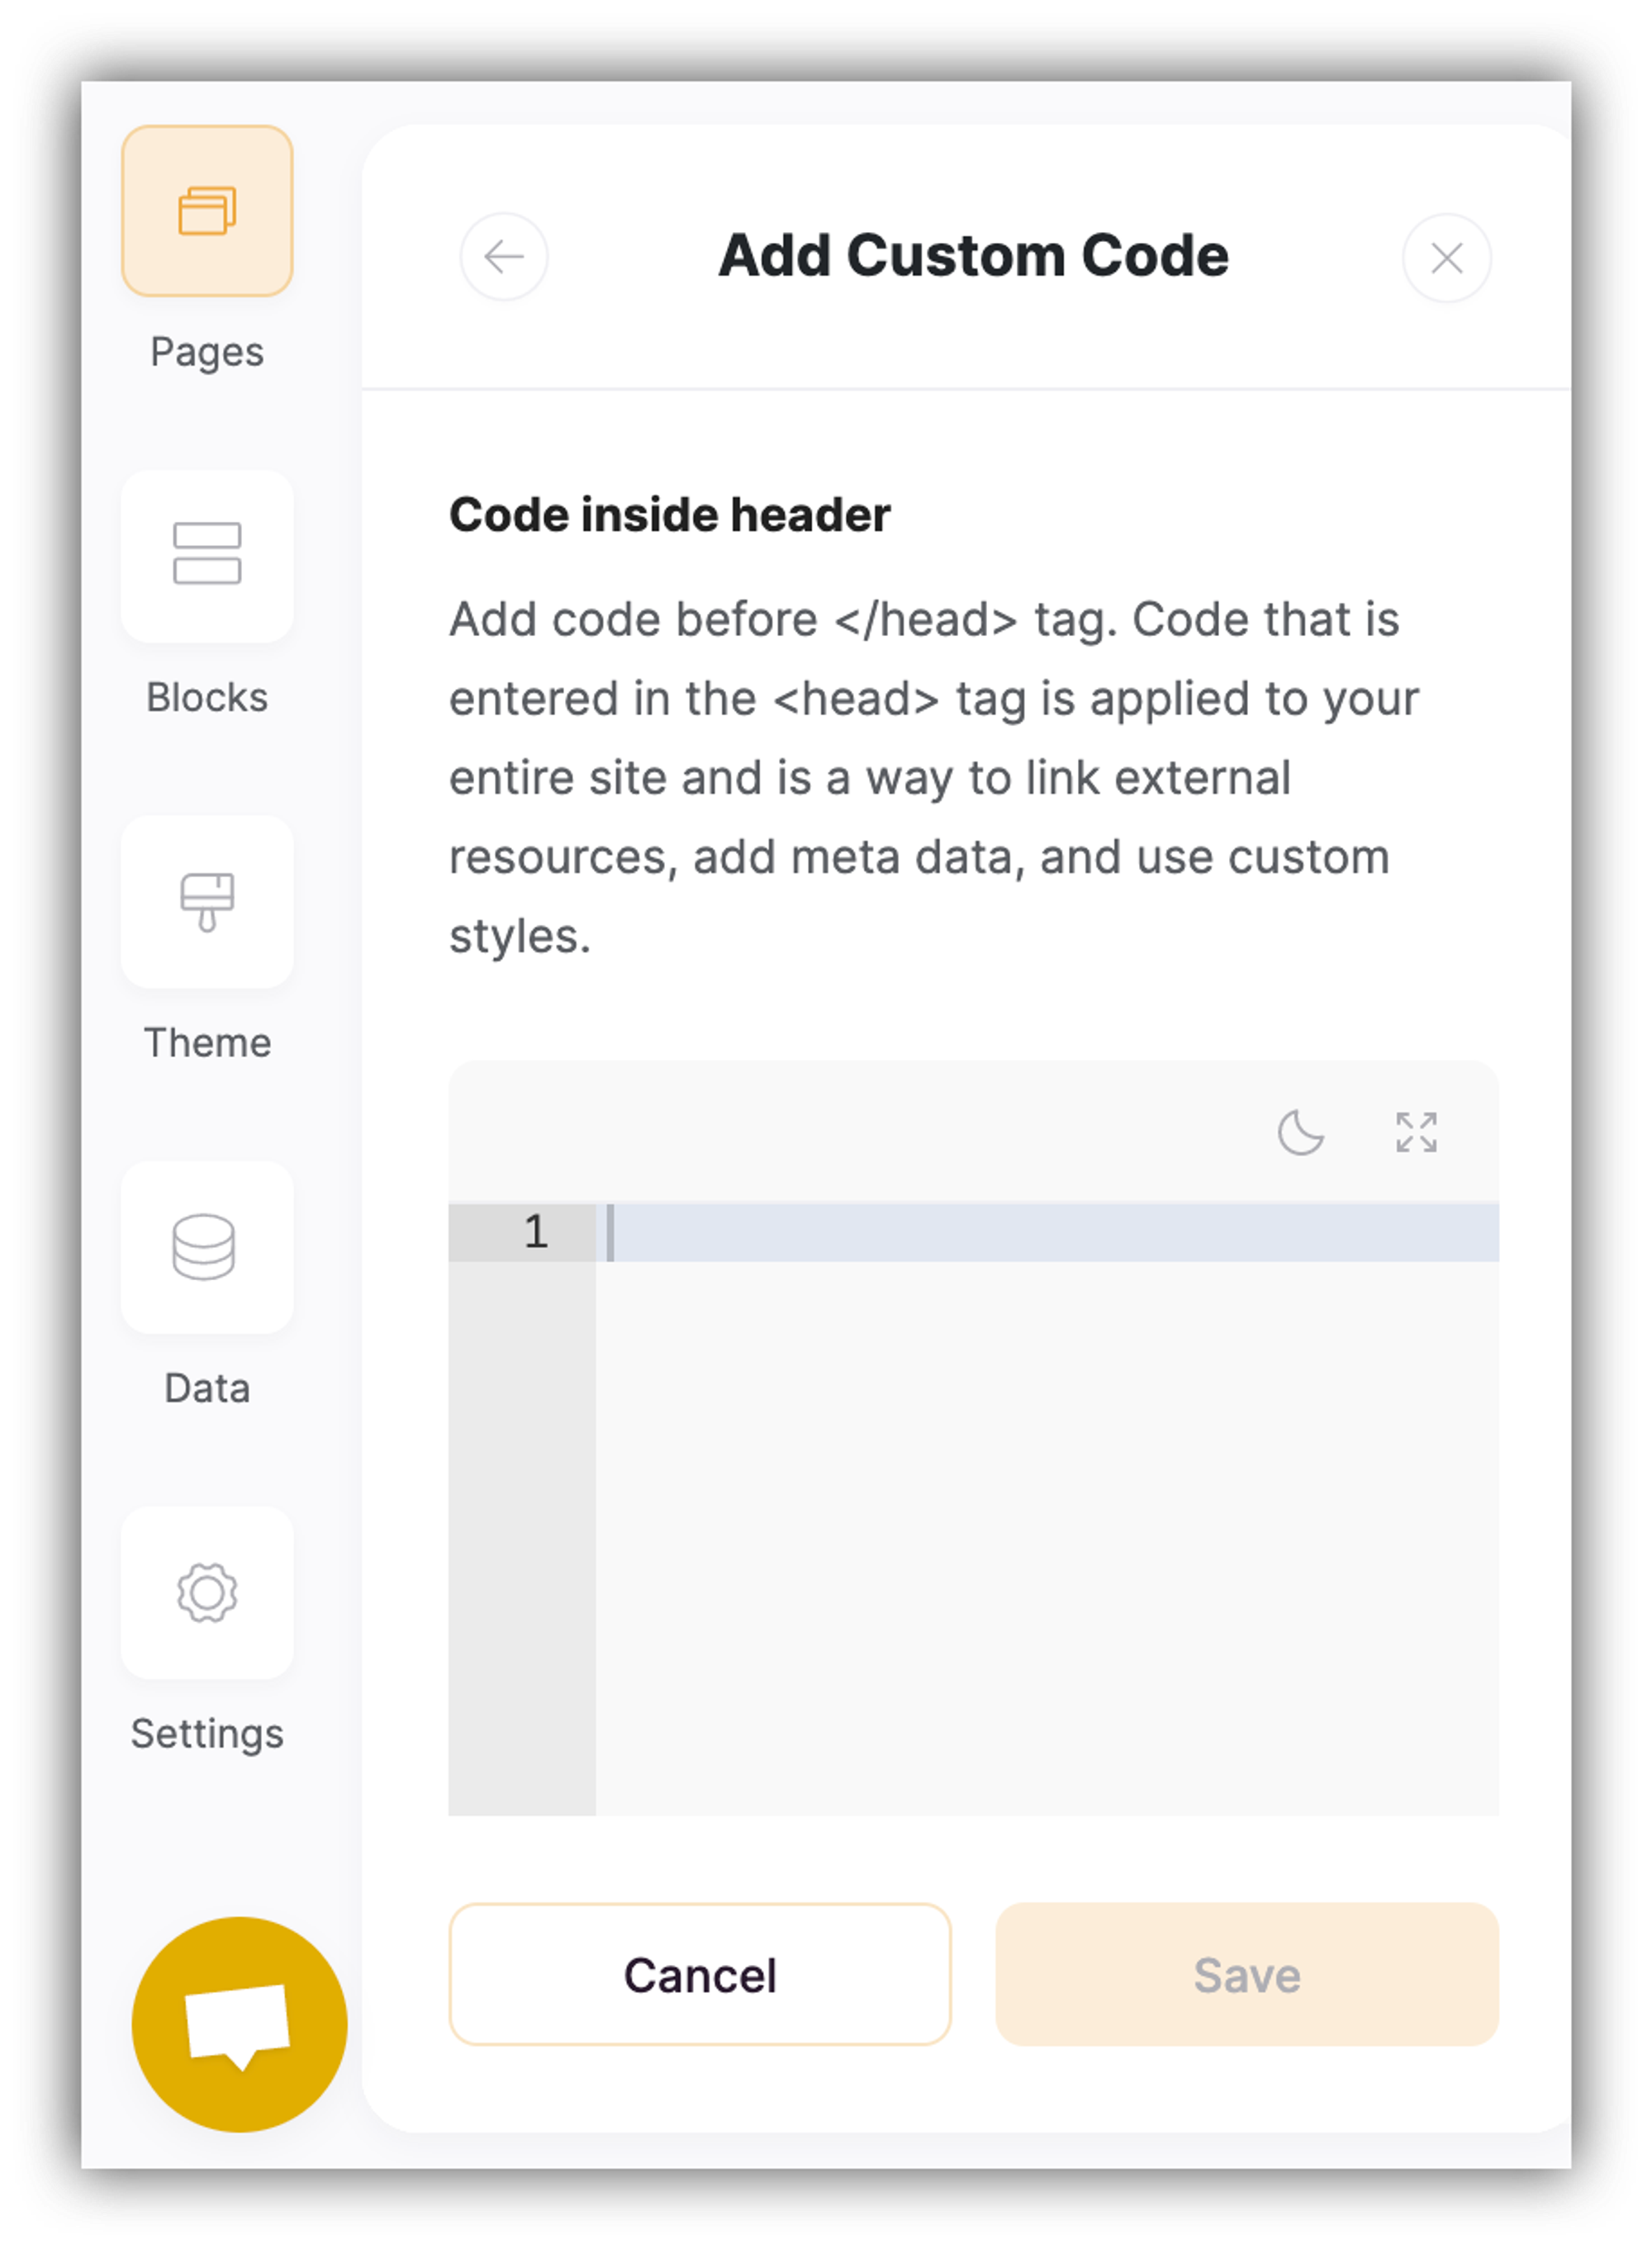
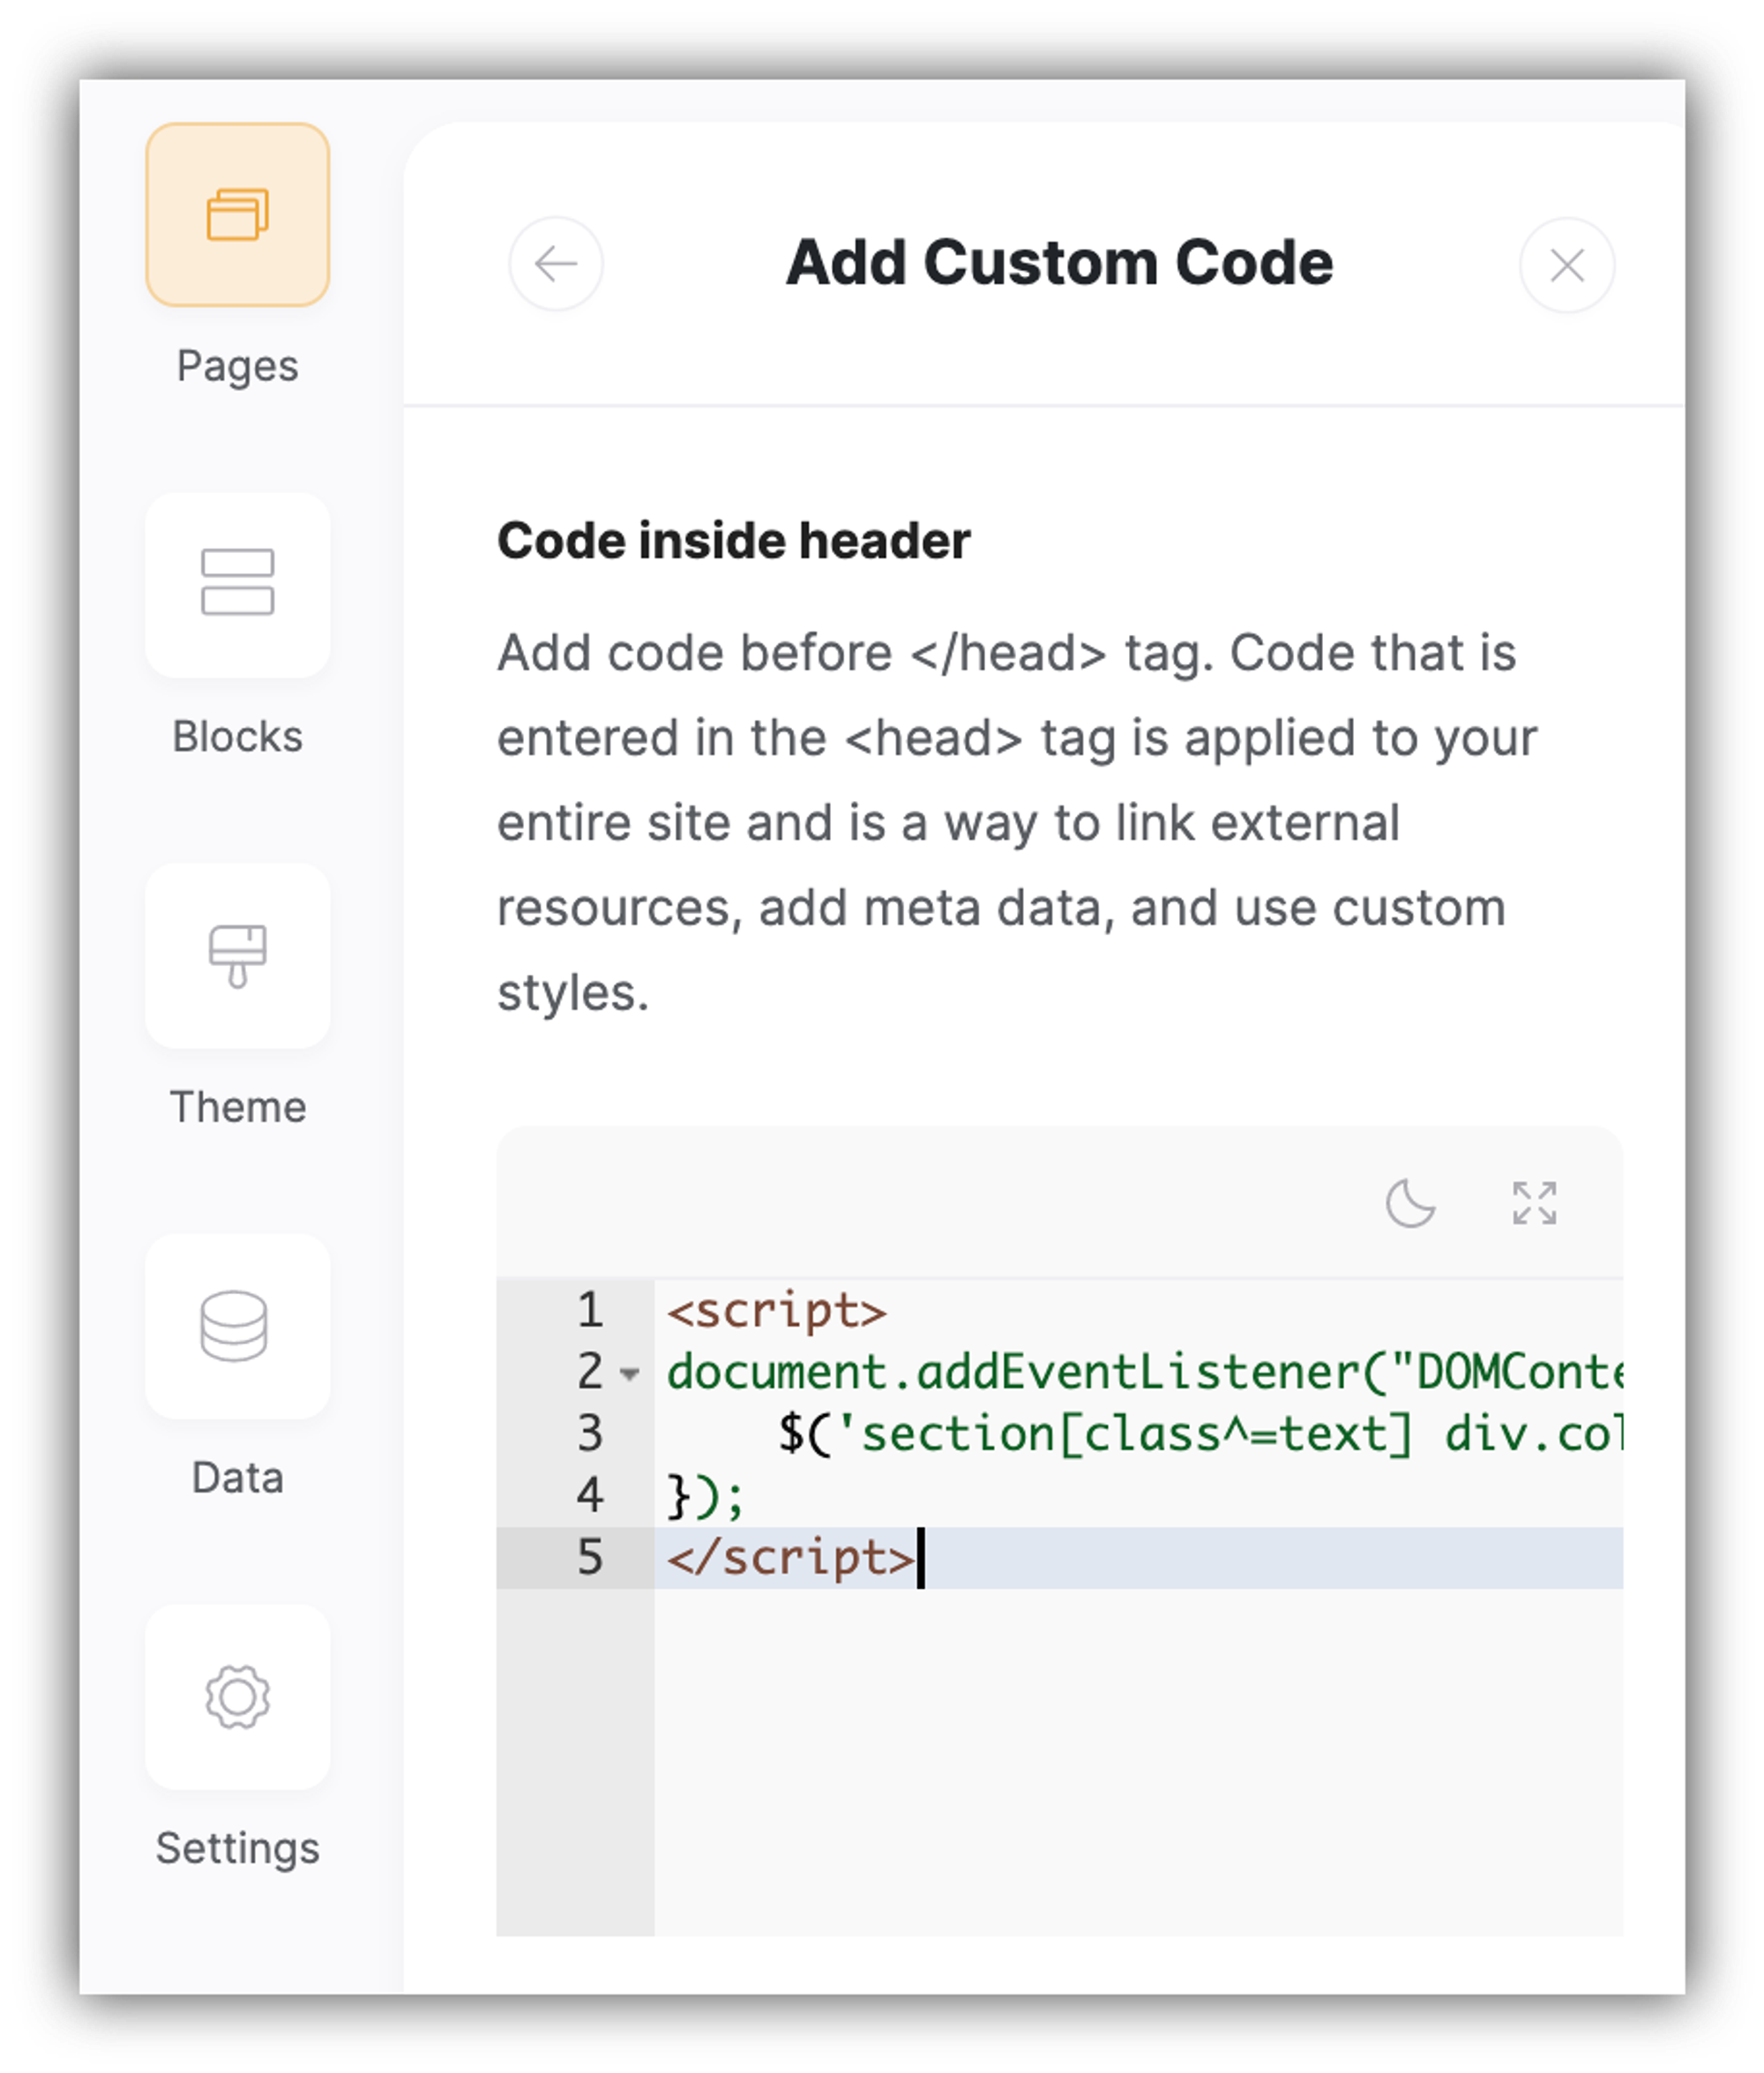
There can be many different cases when you might need this. For instance, you might want to apply a custom styling to your page to reduce the content text width. The below code achieves that once added in the Code Inside Page Header area (and applies a 10-column width instead of the default 12-column width).
<script>
document.addEventListener("DOMContentLoaded", function() {
    $('section[class^=text] div.col-12').addClass('offset-lg-1 col-lg-10');
});
</script>
Here's how it looks once added.
You need to follow the instructions provided by the script owners to see whether it's best to add the code to the header or footer.
Last updated on September 1, 2023